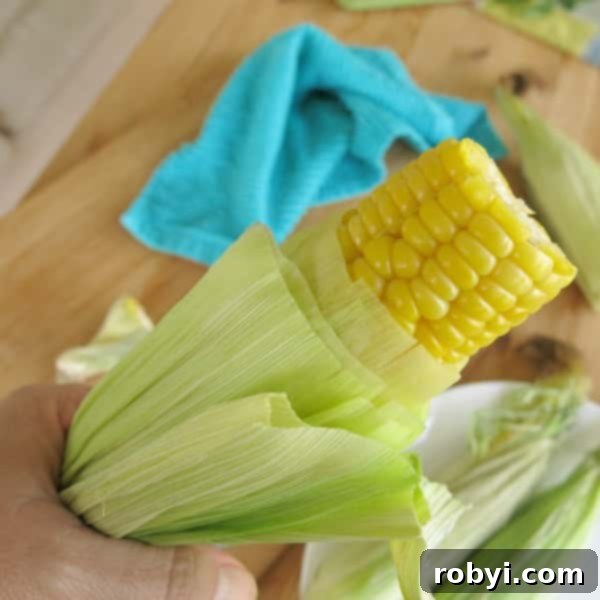
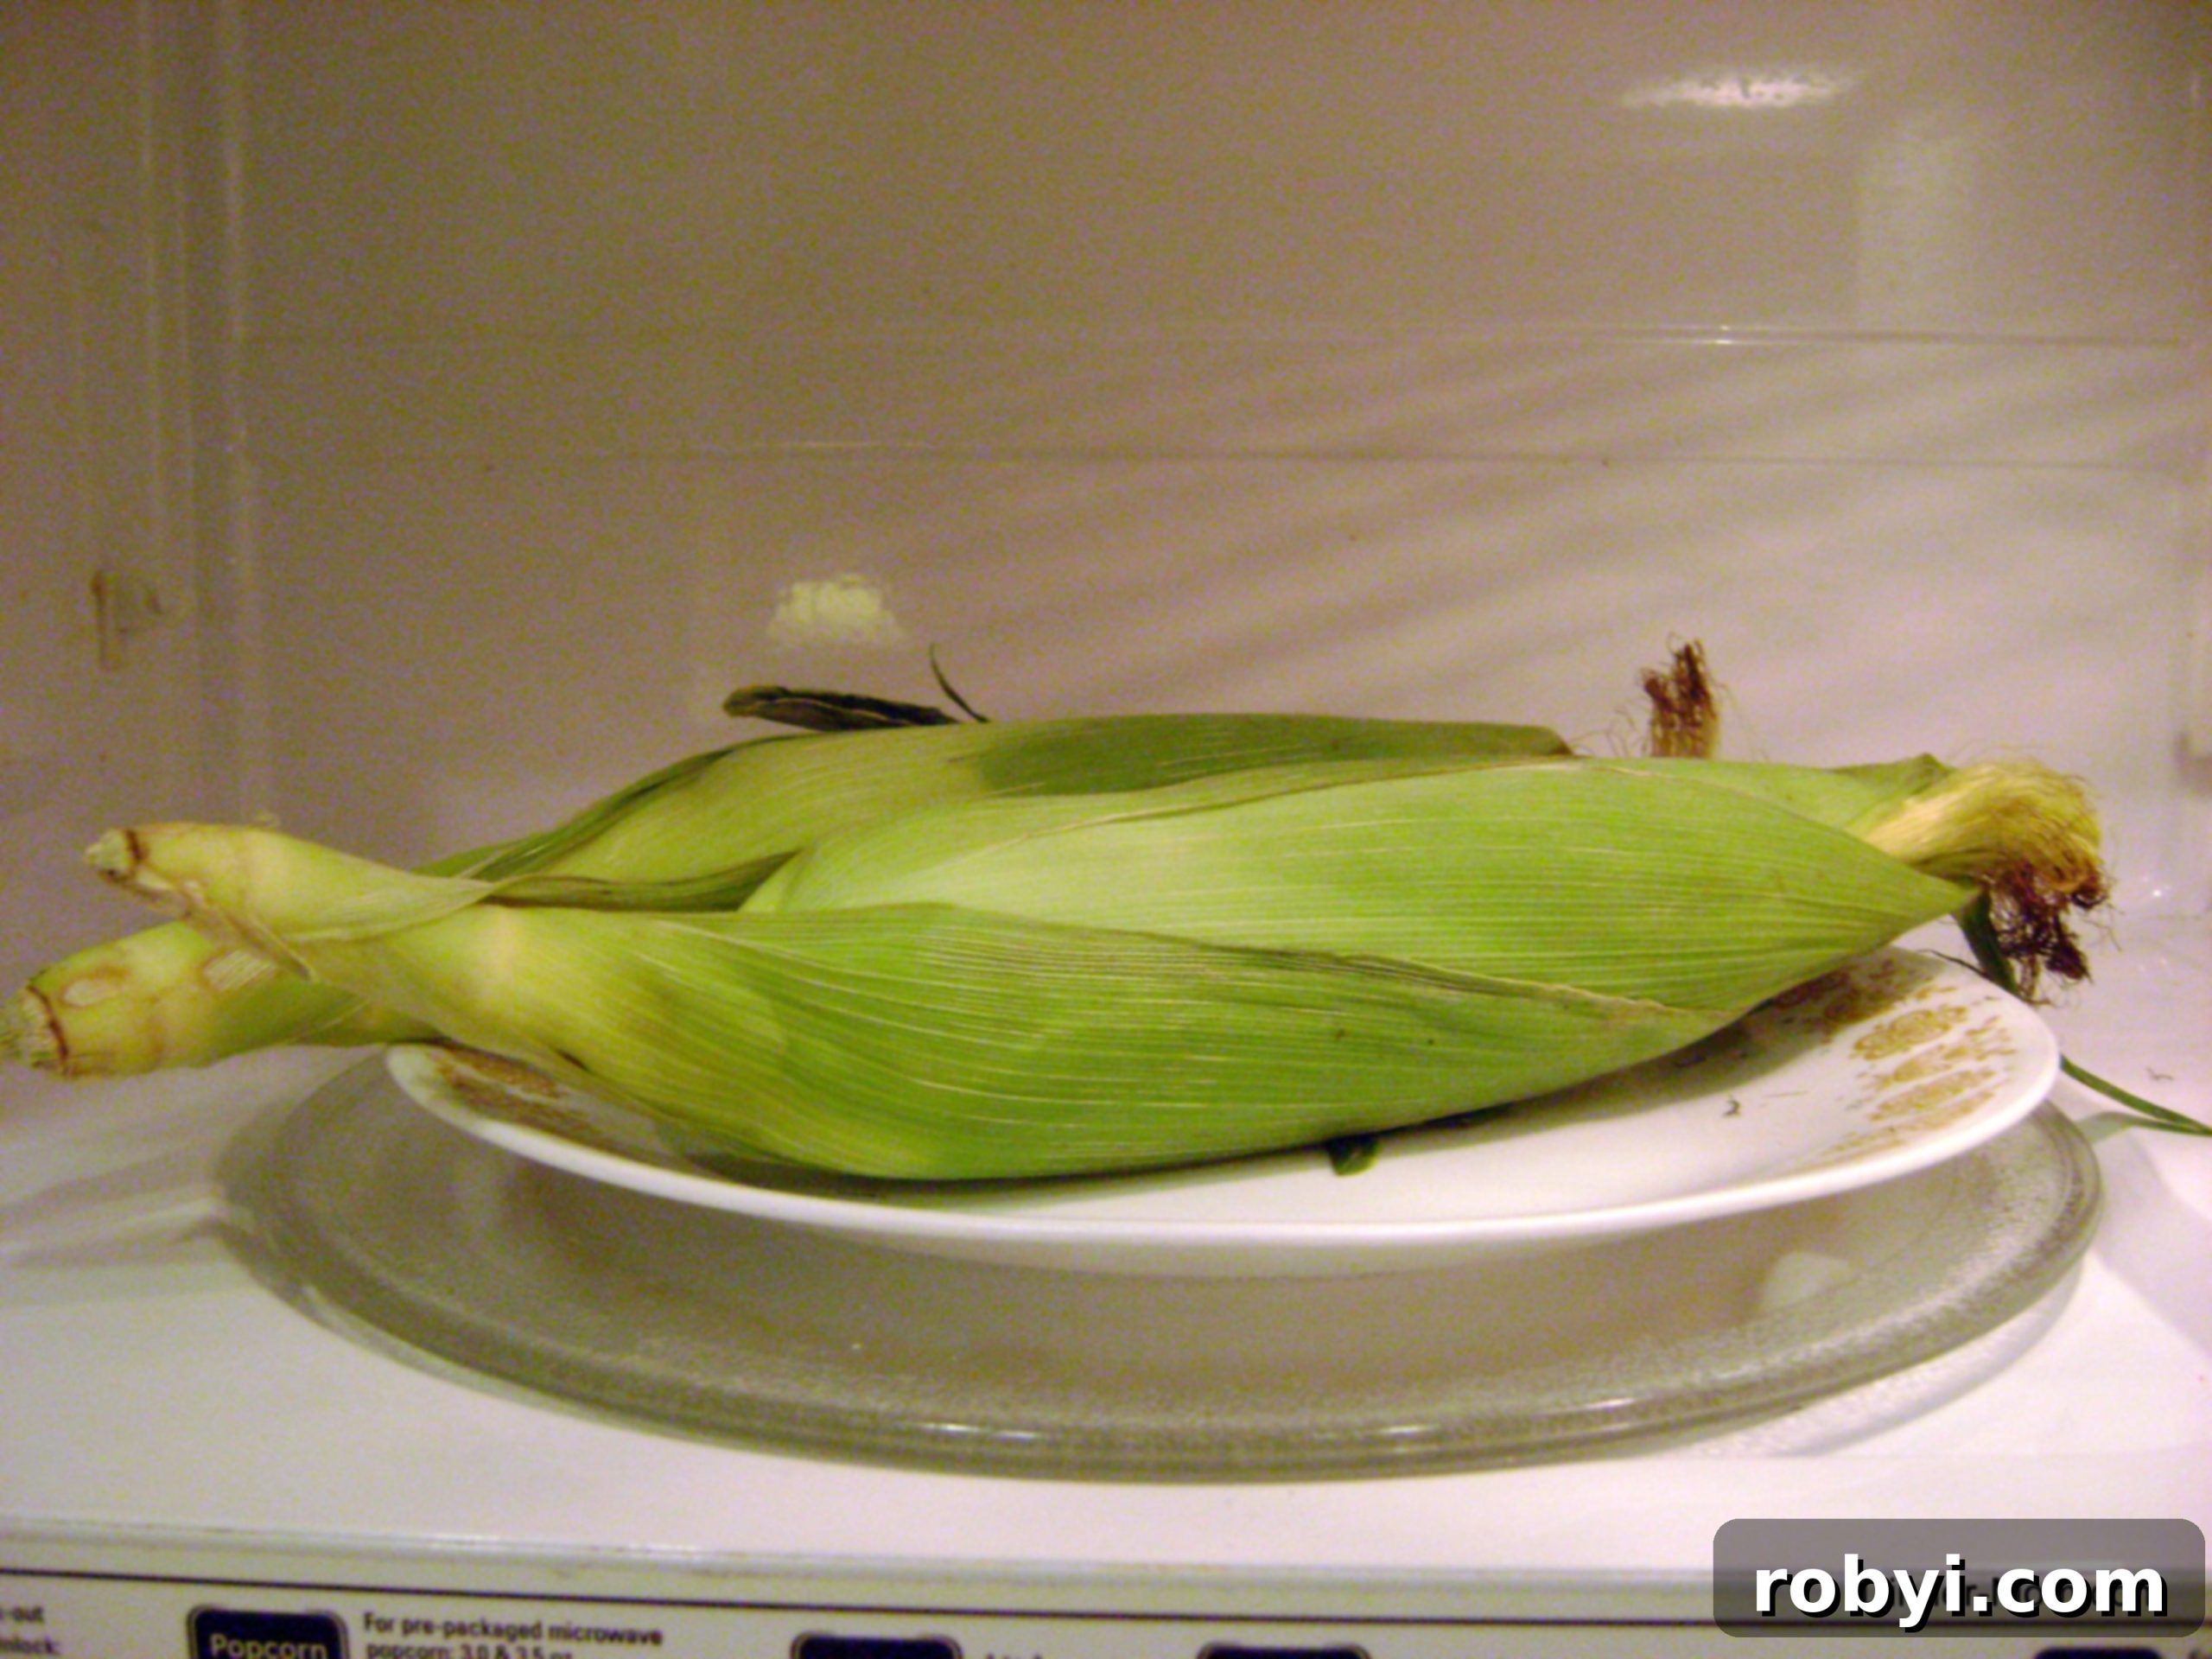
Microwave Corn on the Cob in the husk. It’s the easiest way to enjoy fresh corn in minutes and you won’t have to deal with messy silk strands!
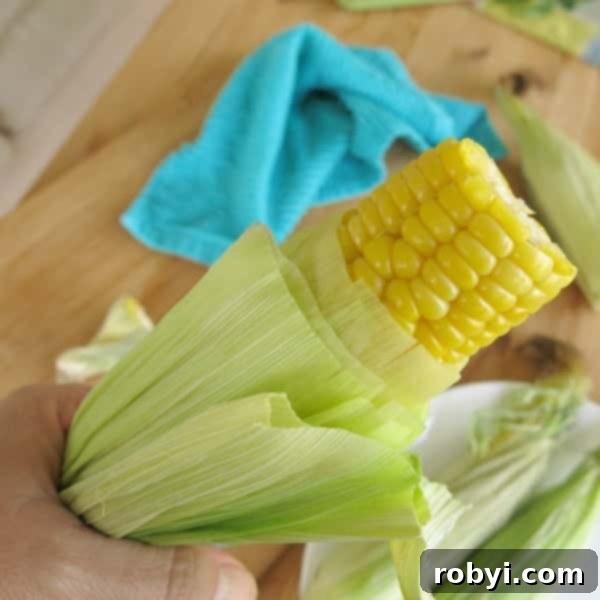
Effortless Microwave Corn on the Cob in the Husk: Your Ultimate Guide to Perfect, Silk-Free Sweet Corn
There’s nothing quite like the taste of fresh, sweet corn on the cob, especially during peak season. However, the joy of biting into those juicy kernels is often overshadowed by the tedious task of shucking and removing the stubborn silk strands. For years, preparing corn meant a messy countertop and persistent efforts to pluck away every last wispy thread. But what if we told you there’s a revolutionary method to enjoy perfectly cooked corn in minutes, with absolutely no messy silk to contend with? Welcome to the world of microwave corn on the cob in the husk – a game-changer for corn lovers everywhere.
Why Microwaving Corn in the Husk is a Culinary Game Changer
Before discovering this incredibly simple technique, my corn-cooking routine was typical: a meticulous shucking process, often initiated at the grocery store to contain the mess, followed by a large pot of boiling water. This method worked, yielding corn that was perfect for dishes like a vibrant Fresh Corn and Black Bean Salsa or a fun Mexican Street Corn in a Cup. Yet, it always felt like a chore.
The microwave method completely transforms this experience. It’s not just about speed; it’s about minimizing effort, maximizing flavor, and eliminating the dreaded silk. This technique is ideal for busy individuals, small households, or anyone who simply wants to enjoy fresh corn without the fuss. It preserves the corn’s natural sweetness and moisture, delivering a tender-crisp texture that’s hard to beat.
The Science Behind the Silk-Free Magic
The brilliance of cooking corn in its husk in the microwave lies in the husk itself. It acts as a natural pressure cooker, trapping steam and moisture around the kernels. This internal steaming process cooks the corn evenly and rapidly, locking in all its natural juices and enhancing its sweet flavor. The intense heat and moisture also work wonders on the silk. As the corn cooks, the heat causes the silk strands to loosen their grip on the cob. Once the corn is done and has had a moment to cool, the entire husk and all the silk simply slide off together, leaving behind a perfectly clean and tender ear of corn. It truly works, often leaving behind no more than a tiny, almost invisible piece of silk – a stark contrast to traditional shucking methods.
I stumbled upon this incredibly easy trick during a tour of Long & Scott Farms (a must-visit if you’re ever in the area, especially for their fantastic corn maze!). It was a revelation, turning what used to be a somewhat bothersome task into an absolute breeze.
Essential Tips for Selecting and Storing Fresh Corn
Picking the Perfect Ears
The secret to delicious corn starts at the market. When choosing corn for microwaving, look for ears with bright green, tightly wrapped husks that feel slightly damp. Avoid husks that are dry, yellowing, or have visible holes, as these are signs of older corn or potential pest damage. You don’t need to peel back the husk to check the kernels with this method, which is another time-saving bonus!
Optimal Storage for Sweetness
Once you’ve selected your corn, proper storage is crucial to preserve its delightful sweetness. Corn begins to convert its sugars to starch soon after being picked. To slow down this process, it’s best to store corn in its husk in a cool place or, ideally, in the refrigerator. Place the ears in a plastic bag to help retain moisture and keep them fresh for up to a week. If you find yourself with an abundance of fresh corn, you can even freeze it right in its husk! This allows you to enjoy that summer sweetness long after the season ends. For detailed instructions, refer to our comprehensive guide on How to Freeze Corn on the Cob in the Husk.
How to Microwave Corn on the Cob in the Husk: A Simple Step-by-Step Guide
Get ready to transform your corn-cooking experience. This method is incredibly straightforward and will consistently deliver tender, sweet, and silk-free corn. Forget the boiling pots and messy shucking; perfection is just minutes away!
Prepare Your Corn (No Shucking Required!)
The beauty of this method is its utter simplicity in preparation. You do NOT need to remove the husks or the silk before cooking. Leave them completely intact. The only optional trim you might consider is cutting off about half an inch from the very fuzzy, stem end of the corn if it’s excessively long, but this is purely for neatness and doesn’t affect the cooking process. The husk is your corn’s natural, perfect cooking vessel.

Microwave for Tenderness
Place the corn, still in its husk, on a microwave-safe plate. The cooking time will depend on how many ears you are preparing and the wattage of your microwave. Use the following guidelines as a starting point:
Microwave Cooking Times:
- 1 ear of corn: 2 minutes
- 2 ears of corn: 4 minutes
- 3 ears of corn: 5 minutes
- 4 ears of corn: 6 minutes
Important Note on Microwave Wattage: Microwave power can vary significantly. If your microwave is higher wattage (e.g., 1000-1200 watts), your corn might cook a bit faster. For lower wattage microwaves (e.g., 700-900 watts), you may need to add an additional minute or two. Always start with the suggested times and add 30-second to 1-minute increments as necessary until the corn reaches your desired tenderness. Avoid overcrowding the microwave, as this can lead to uneven cooking.
Allow a Cooling Period
After the microwave finishes, the corn will be incredibly hot. This is critical for both safety and for the silk-removal process. Carefully remove the plate from the microwave and allow the corn to cool undisturbed for approximately 5 minutes. This resting period allows the internal steam to continue cooking the corn gently, ensures even doneness, and, most importantly, makes the ears cool enough to handle safely. If you’re in a hurry, use a thick hand towel or oven mitts to hold the corn.
Prepare for Silk Removal
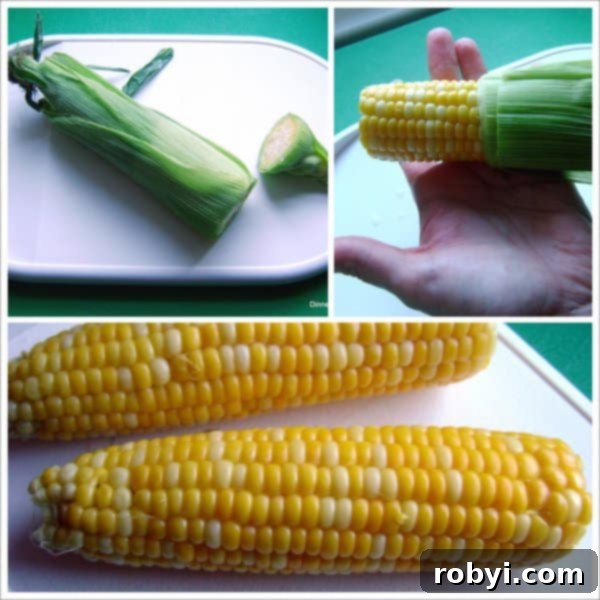
Once cooled slightly, place an ear of corn on a cutting board. With a sharp knife, carefully cut about 1 inch off the *stem end* of the corn. This is the thicker, stubby end where the corn was attached to the stalk. It’s crucial that you cut this end and NOT the end where the silk is visibly protruding. Cutting the stem end severs the attachment points of the silk at the base of the cob, which is the key to its effortless removal.
The Effortless Shuck
Now for the most satisfying part! Hold the end of the corn where the silk is still visible. With your other hand, firmly grasp the opposite, freshly cut end. Gently squeeze and push the corn. The cooked corn, along with all the messy silk, should slide cleanly out of the husk with minimal effort. You’ll be left with a pristine, ready-to-eat ear of corn. If an ear feels a bit stubborn, try a gentle rocking motion as you pull, or peel back the very top of the husk slightly to help get it started. You’ll be amazed at how easily the silk detaches, leaving you with a perfectly clean cob ready for enjoyment!
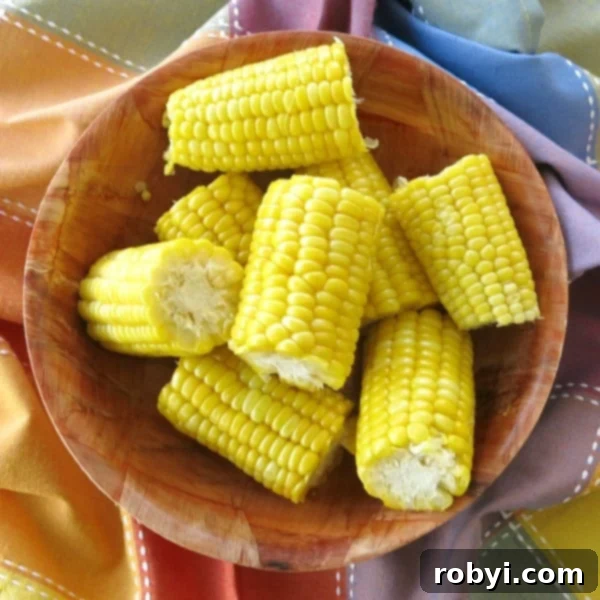
Serving Your Perfectly Cooked Microwave Corn
Once you’ve mastered this incredibly simple technique, the possibilities for enjoying your fresh, sweet corn are truly endless! The corn will emerge tender-crisp and naturally bursting with flavor, making it delicious on its own or as a versatile ingredient in countless recipes.
Classic Ways to Enjoy:
- Butter and Salt: A timeless classic that never disappoints. Slather a generous pat of butter, sprinkle with sea salt, and a dash of freshly ground black pepper.
- Herb Butter: Elevate your corn with compound butter. Mix softened butter with finely chopped fresh herbs like chives, parsley, cilantro, or dill. A hint of garlic powder or smoked paprika can add wonderful depth.
- Zesty Lime & Chili: For a vibrant kick, squeeze fresh lime juice over the warm corn and sprinkle with a pinch of chili powder, smoked paprika, or the popular Mexican seasoning, Tajín.
Creative Uses Beyond the Cob:
The ease of silk removal makes this method perfect for incorporating fresh corn into other dishes without the tedious prep:
- Salads: Cut the kernels off the cob and add them to green salads, pasta salads, quinoa bowls, or black bean and avocado salads for a burst of sweetness and crunch.
- Salsas: Fresh corn is a fantastic base or addition to homemade salsas, like the Fresh Corn and Black Bean Salsa.
- Soups and Stews: Stir fresh kernels into chowders, chili, or summer vegetable soups for added texture and a sweet flavor profile.
- Stir-fries and Side Dishes: Quickly sauté the kernels with other seasonal vegetables, or add them to a simple rice pilaf or risotto.
- Gourmet Tacos & Burrito Bowls: Fresh corn kernels are an essential ingredient for adding sweetness and texture to your favorite Mexican-inspired dishes.
It’s truly hard to beat the taste of fresh, sweet corn, especially when it’s prepared with such minimal effort and maximum flavor. This method ensures you get to enjoy the best of summer’s bounty with unparalleled convenience.
Microwave Corn on the Cob in Husk
Discover the simplest and quickest way to enjoy perfectly cooked, fresh corn on the cob straight from the microwave, husk and all! This easy method eliminates messy silk, ensuring tender, sweet kernels every time.
Prep Time: 0 minutes
Cook Time: 2-6 minutes (depending on number of ears)
Cooling Time: 5 minutes
Total Time: Approximately 10-15 minutes
Yields: 4 servings
Author: Marjory Pilley
Ingredients
- 4 ears fresh corn on the cob, in their husks
Instructions
- Place the corn on a microwave-safe plate. Microwave on high according to the following guide:
- 1 ear: 2 minutes
- 2 ears: 4 minutes
- 3 ears: 5 minutes
- 4 ears: 6 minutes
Note: Cooking times may vary slightly based on your microwave’s wattage. Start with the suggested times and add additional 30-second to 1-minute increments if the corn isn’t tender enough.
- Allow the corn to cool undisturbed on the plate for approximately 5 minutes after cooking. This resting period is crucial for even cooking and safe handling.
- Carefully cut about 1 inch off the stem (stubby) end of each ear of corn using a sharp knife. Ensure you cut the end opposite to where the silk is visibly protruding.
- Hold the end of the corn where the silk is showing. With your other hand, grasp the cut end and gently squeeze and pull the corn. The cooked corn, along with all the silk, should slide cleanly out of the husk. If needed, gently rock the ear or peel back the husk slightly at the top to assist in removal.
- Serve immediately with your favorite toppings or incorporate into other recipes.
Recipe Notes & Tips:
- Storage: Always store fresh corn in the husk in a cool place or the refrigerator until you’re ready to cook it to maintain optimal sweetness and freshness.
- Freezing: You can also freeze corn on the cob in the husk for longer storage. When microwaving from frozen, add an extra 1-2 minutes to the cooking time per ear.
- Handling Hot Corn: The corn will be extremely hot after microwaving. Use a hand towel or oven mitts for safe handling during the cooling and shucking process.
- Stubborn Silk: If the husk and silk are difficult to remove, try peeling back the top of the husk a little or applying a gentle rocking motion as you pull to help loosen them.
Nutrition Information (per serving, estimated)
These values are estimates and may vary based on specific ingredients and preparation methods.
- Calories: 77 kcal
- Carbohydrates: 16 g
- Protein: 2 g
- Fat: 1 g
- Sodium: 13 mg
- Potassium: 243 mg
- Fiber: 1 g
- Sugar: 5 g
- Vitamin A: 170 IU
- Vitamin C: 6.1 mg
- Iron: 0.5 mg
Nutritional and Food Safety Disclaimer
Frequently Asked Questions About Microwave Corn
- Can I microwave frozen corn on the cob in the husk?
- Yes, absolutely! You can microwave frozen corn on the cob directly from the freezer without thawing. Simply add an extra 1-2 minutes to the cooking time for each ear. The same easy silk removal trick still applies after the corn has had a chance to cool.
- How do I know if the corn is cooked properly?
- The corn should feel tender when squeezed gently through the husk (use a towel!). If it feels too firm, microwave for another 30 seconds to 1 minute. The kernels should be plump, bright, and tender-crisp. For a definitive check, you can carefully peel back a small section of the husk after the cooling period to inspect the kernels.
- What if my microwave has a different wattage?
- Most home microwaves range from 700 to 1200 watts. Higher wattage microwaves will cook corn faster, while lower wattage models may require slightly more time. Our provided timing guide is based on an average microwave. It’s always best to start with the lower end of the recommended time and add more as needed in small increments.
- Is it safe to microwave corn in the husk?
- Yes, it is perfectly safe! The husk naturally protects the corn, creating a steaming environment within the microwave. Just ensure you’re using a microwave-safe plate and always handle the hot corn with care to avoid burns.
- Can I season the corn before microwaving?
- While you can’t season directly through the husk, the natural steaming process locks in the corn’s inherent sweetness and flavor, often making additional seasoning unnecessary until after cooking. Once shucked, you can add butter, salt, pepper, herbs, or any other toppings you desire.
Beyond the Basics: Enhancing Your Microwave Corn Experience
While microwave corn in the husk is fantastic on its own, there are many ways to elevate your corn experience:
- Compound Butters: Get creative with flavored butters. Mix softened butter with ingredients like roasted garlic, fresh herbs (rosemary, thyme), honey and cinnamon, or a blend of chili and lime zest for a gourmet touch.
- Cheesy Toppings: After shucking, brush the warm corn with melted butter or olive oil and sprinkle generously with grated Parmesan, cotija, or feta cheese for an extra layer of savory flavor.
- Spicy Drizzle: For those who love a kick, a drizzle of your favorite hot sauce, sriracha, or a sprinkle of cayenne pepper can add an exciting zing.
- Quick Grill Finish: If you desire a smoky flavor and those appealing char marks, you can quickly finish your microwaved and shucked corn on a hot grill or grill pan for a few minutes. This adds another layer of complexity without the long grilling time.
This microwave method for corn on the cob in the husk is truly a culinary revelation. It’s fast, incredibly clean, and consistently delivers tender, flavorful corn that’s perfect for any meal or occasion. Whether you’re a seasoned chef or a kitchen novice, this technique will undoubtedly become your go-to for enjoying one of summer’s greatest delights. Say goodbye to sticky silk and hello to effortless perfection!
We absolutely love seeing your culinary creations! If you try this microwave corn on the cob recipe, please take a moment to rate it and leave a comment below. Your feedback helps our community grow and allows us to continue sharing more delicious and easy recipes! Don’t forget to tag us @DinnerMom or use #DinnerMom on social media so we can see what you’re cooking up.
