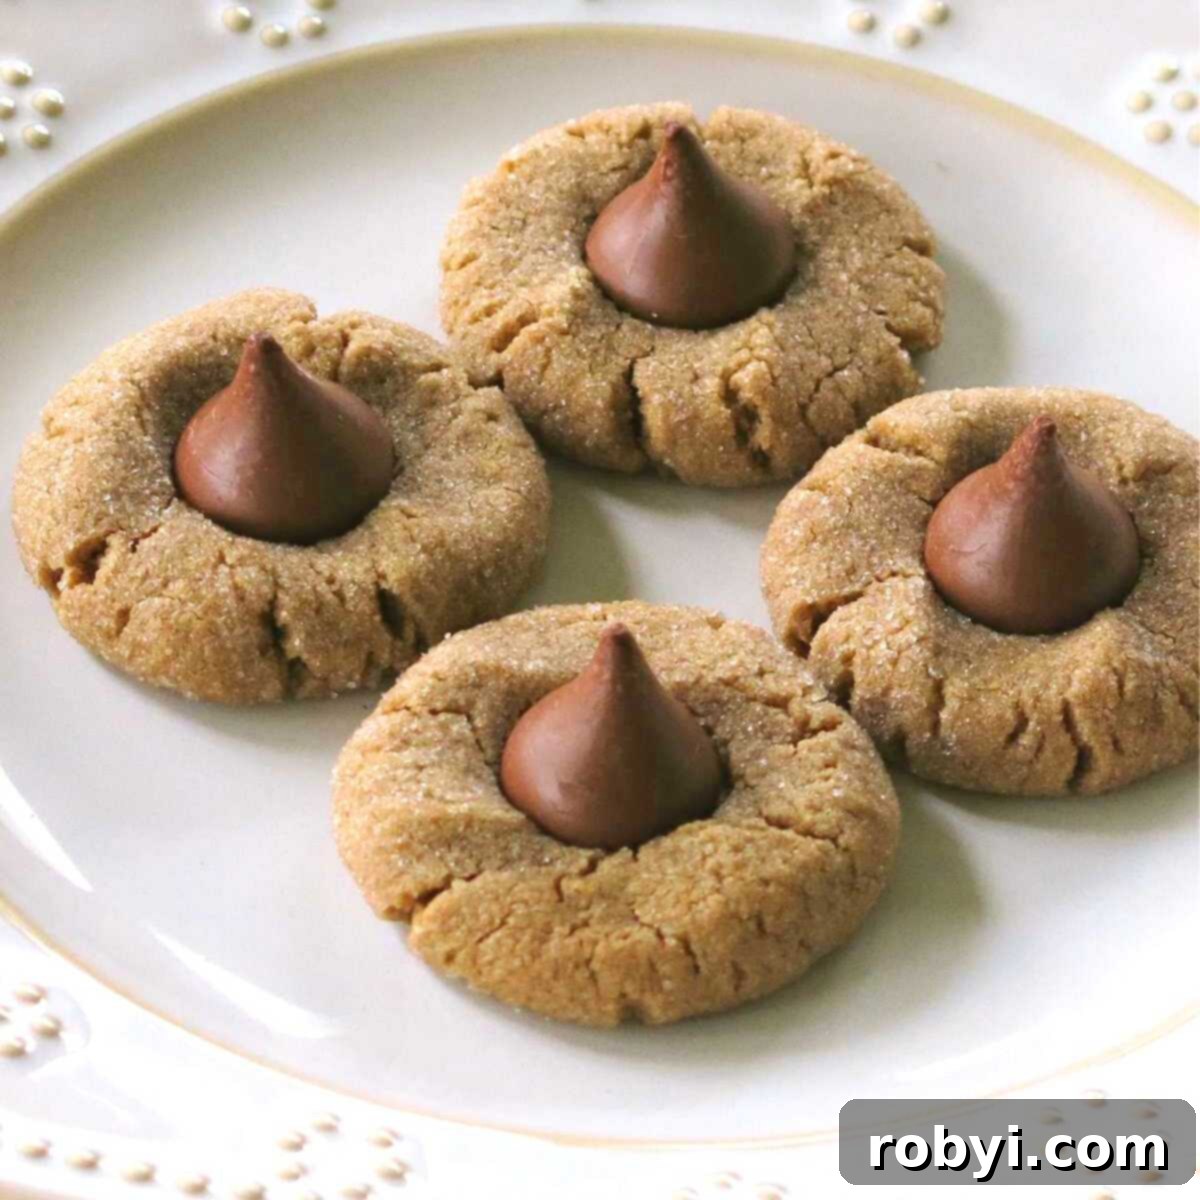
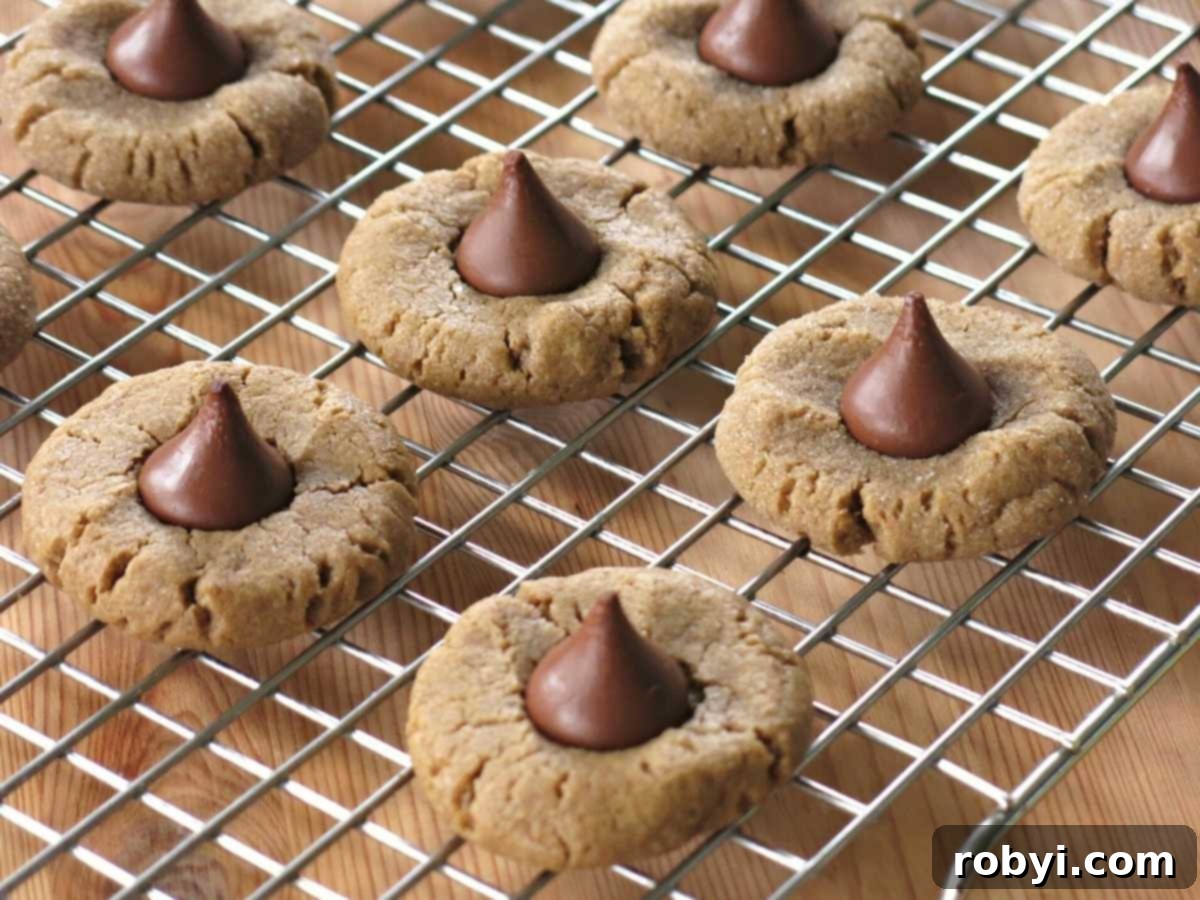
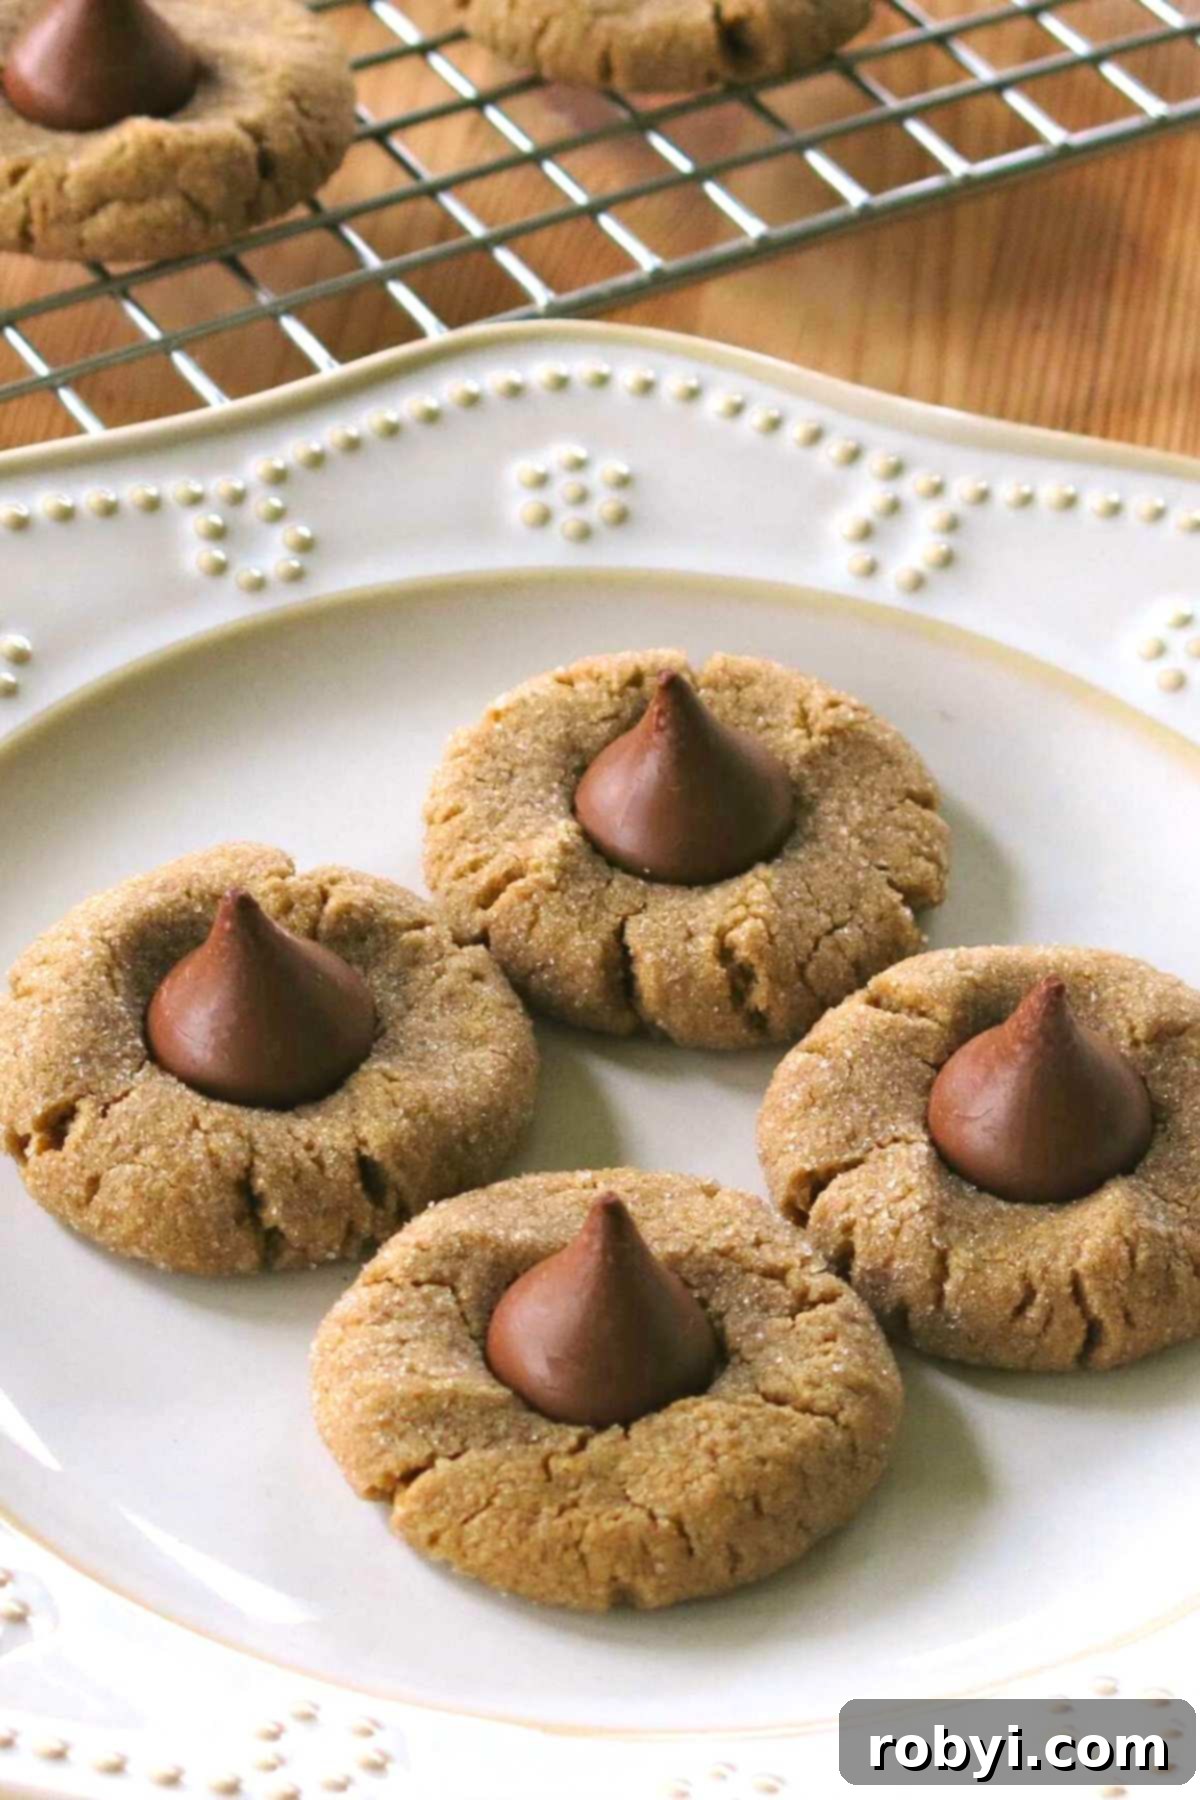
Unlock the secret to effortlessly delicious treats with these incredible 3-Ingredient Peanut Butter Blossom Cookies. Topped with a classic Hershey’s Kiss, these cookies are a timeless delight, ready in just 20 minutes from start to finish. Perfect for any occasion, from last-minute cravings to elaborate holiday cookie exchanges, they offer a delightful combination of soft, tender peanut butter goodness and rich chocolate, all with minimal effort.
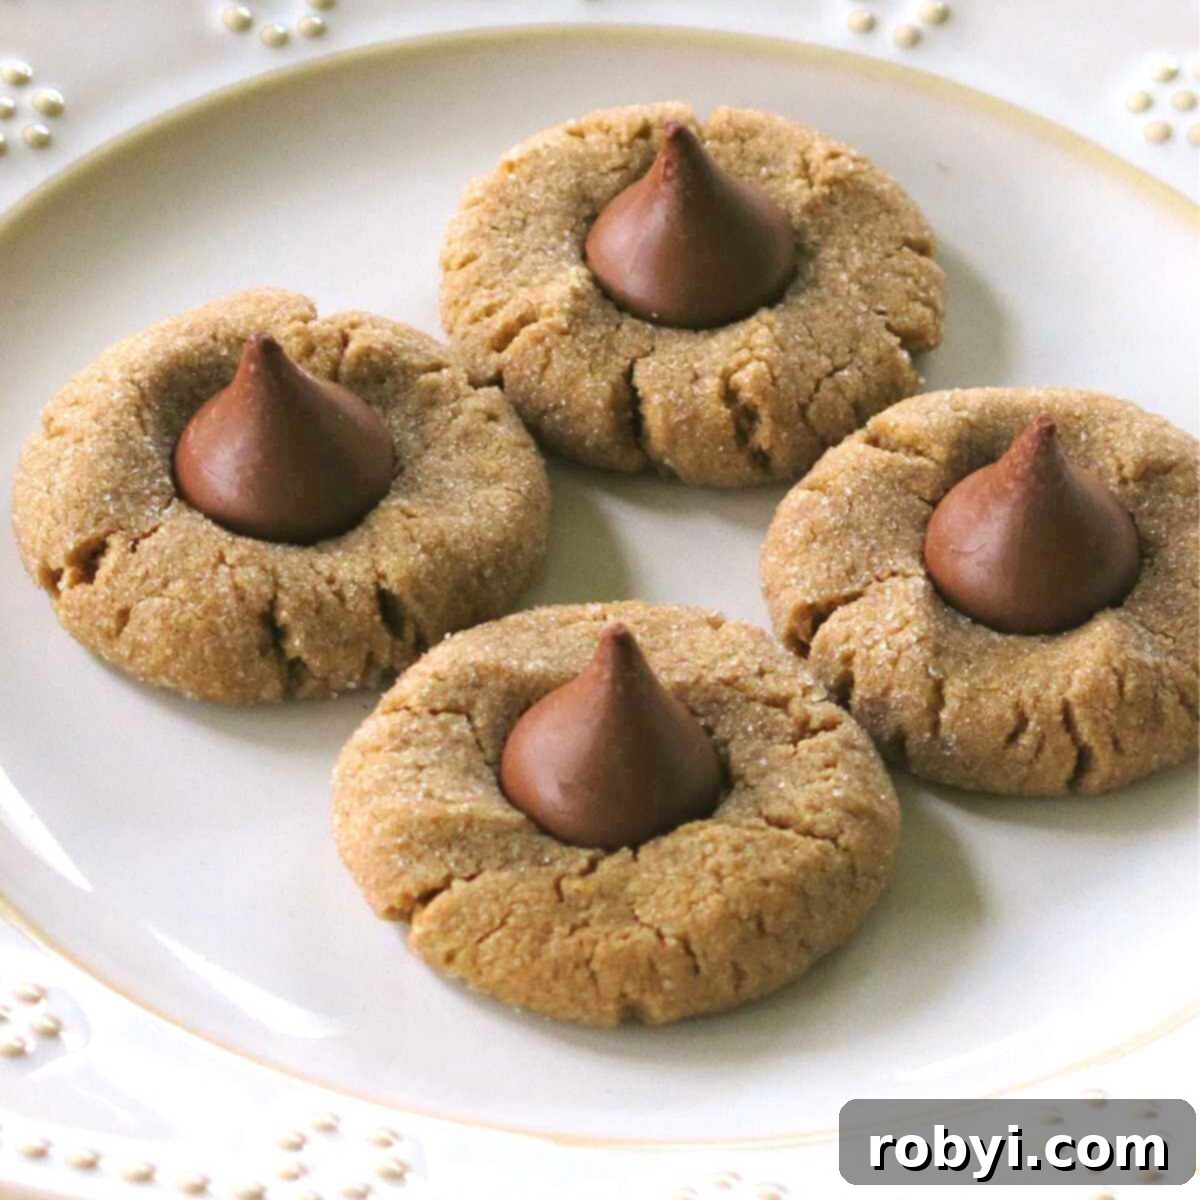
Imagine whipping up a batch of scrumptious cookies with only three core ingredients! It sounds almost too good to be true, but it’s not. These remarkably simple cookies deliver on taste and texture, proving that you don’t need a pantry full of items to create something truly special. If you choose to omit the chocolate kiss, you’re left with an exquisite, naturally flourless peanut butter cookie – a fantastic option for those seeking gluten-free alternatives without compromising on flavor.
However, for a truly iconic dessert, embracing the classic duo of peanut butter and chocolate is a must. The addition of a fourth ingredient – the beloved chocolate kiss – transforms these simple cookies into the legendary Peanut Butter Kiss Cookies that bring smiles to faces of all ages. This small addition makes a world of difference, turning a delicious peanut butter cookie into an unforgettable treat.
And for those with peanut allergies or simply looking to explore different flavors, this recipe is incredibly adaptable. You can easily substitute peanut butter with other nut or seed butters. For a unique twist, consider making easy almond butter cookies, offering a slightly different, yet equally delightful, nutty flavor profile.
Despite their straightforward ingredient list, these soft and tender cookies have an uncanny ability to disappear almost as quickly as they’re made in our home. They are so irresistible that I often prepare them in advance and keep a stash in the freezer, ensuring we’re never without these delightful bites. Their popularity is a testament to their simple yet profound deliciousness.
Whether you’re gearing up for a festive holiday cookie exchange, seeking the perfect sweet finish to a family dinner, or simply craving a comforting treat on a cozy evening, these easy peanut butter cookies are an impeccable choice. Their humble origins belie their impressive taste and widespread appeal, making them a go-to recipe for any occasion. The combination of minimal ingredients, quick preparation, and universally loved flavors ensures they’ll become a staple in your baking repertoire.
Essential Ingredients for Perfect Peanut Butter Blossoms
Crafting these delectable peanut butter blossom cookies requires just three foundational ingredients, plus the delightful chocolate candy for that signature top. Each component plays a crucial role in achieving the perfect balance of flavor and texture, making these cookies a simple yet satisfying baking project.
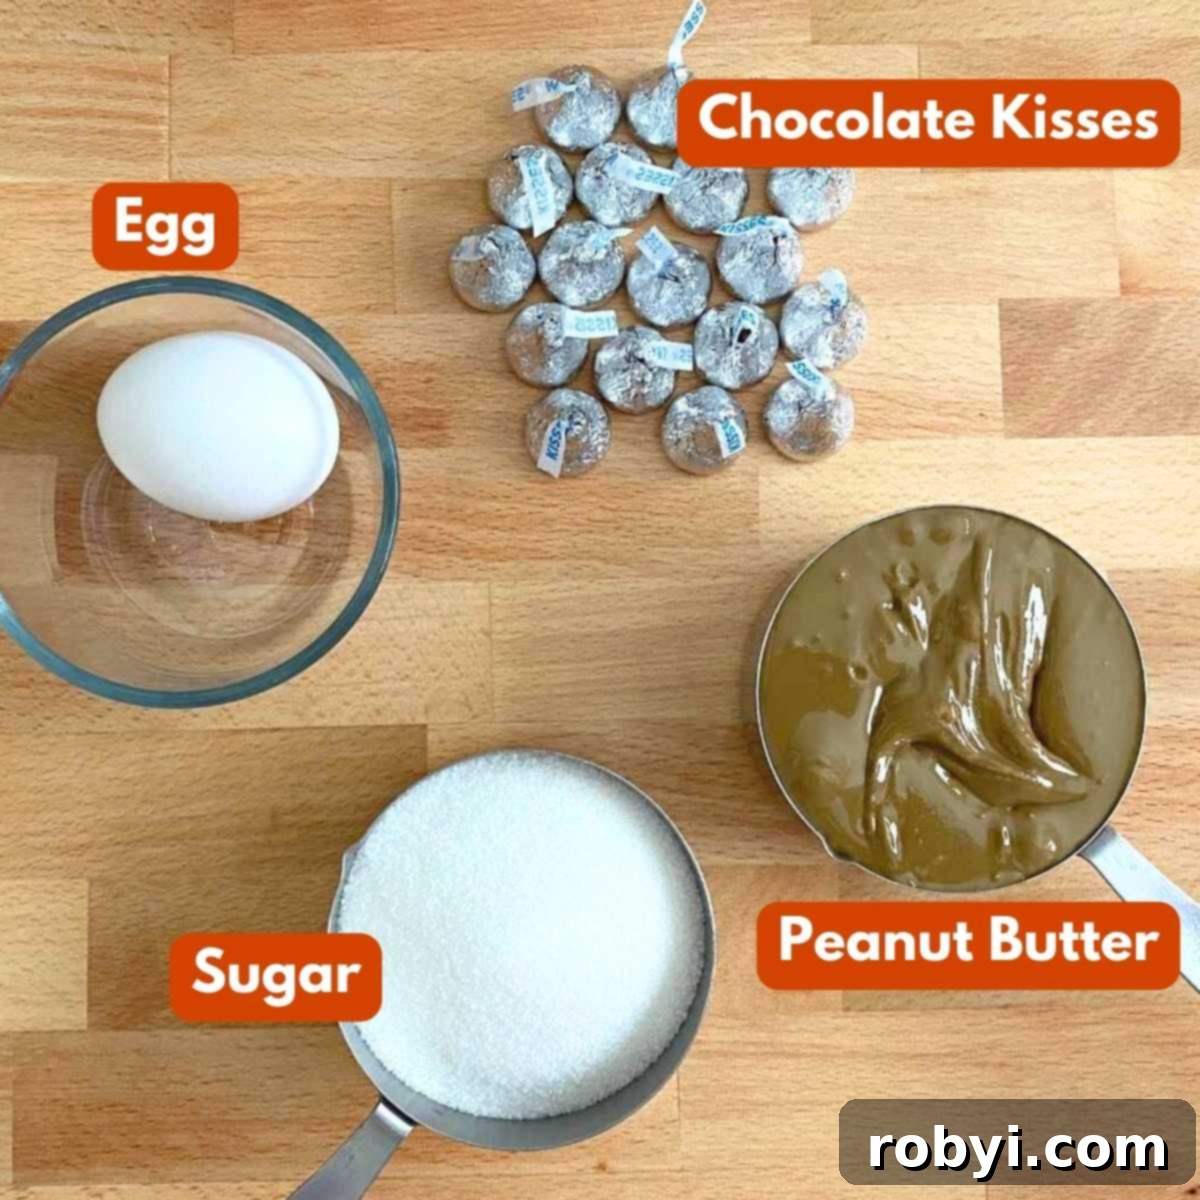
- Natural Peanut Butter: The heart of these cookies, creamy natural peanut butter, is your best bet. Opt for varieties that do not have added sugar or salt to maintain better control over the cookie’s sweetness and overall flavor. If your chosen peanut butter does contain added sugar or salt, you might want to slightly reduce the amount of granulated sugar in the recipe to prevent them from becoming overly sweet. Remember to stir natural peanut butter thoroughly before measuring to ensure a consistent texture in your dough. This recipe is also incredibly versatile, allowing you to experiment with other nut or seed butters like cashew butter, almond butter, or sunflower seed butter for delicious variations.
- Granulated Sugar: Sugar not only provides sweetness but also contributes to the cookies’ texture, giving them that characteristic slight crispness on the outside and chewiness within. While many recipes call for 1 cup of white sugar, we often find that ¾ cup is sufficient to achieve a perfectly balanced sweetness, especially when using a sweet chocolate topping. For an even more tender and moist cookie, consider using brown sugar. Additionally, if you’re mindful of sugar intake, alternative sweeteners such as Stevia, monk fruit, or erythritol can be successfully incorporated, though you might need to adjust quantities based on their sweetness profiles.
- Egg: The egg acts as a crucial binder, holding the cookie dough together and providing structure. It also contributes to the rich flavor and tender crumb of the cookies. For those following a vegan diet or with egg allergies, a chia egg (1 tablespoon chia seeds mixed with 3 tablespoons water, let sit for 5 minutes) or a flax egg (1 tablespoon ground flaxseed mixed with 3 tablespoons water, let sit for 5 minutes) can be used as an effective substitute, ensuring your cookies remain perfectly structured and delicious.
- Chocolate Kisses: These delightful chocolate candies are the signature crowning glory of peanut butter blossom cookies. While Hershey’s Kisses are the classic choice, don’t limit your creativity! Any small, individual chocolate candy will work wonderfully. Think mini peanut butter cups for an extra layer of peanut butter flavor, or explore seasonal varieties of chocolate kisses that become available during holidays to add a special touch of color and unique flavors to your festive treats. The soft melting chocolate on top is what truly makes these cookies iconic.
For precise measurements and detailed step-by-step instructions, please refer to the complete recipe card provided below.
Crafting Your 3-Ingredient Peanut Butter Blossoms: A Simple Guide
Making these delightful peanut butter blossom cookies, complete with their signature chocolate kiss, is an incredibly straightforward process that yields impressive results. Follow these easy steps to bake a batch of warm, soft, and utterly delicious cookies in no time.
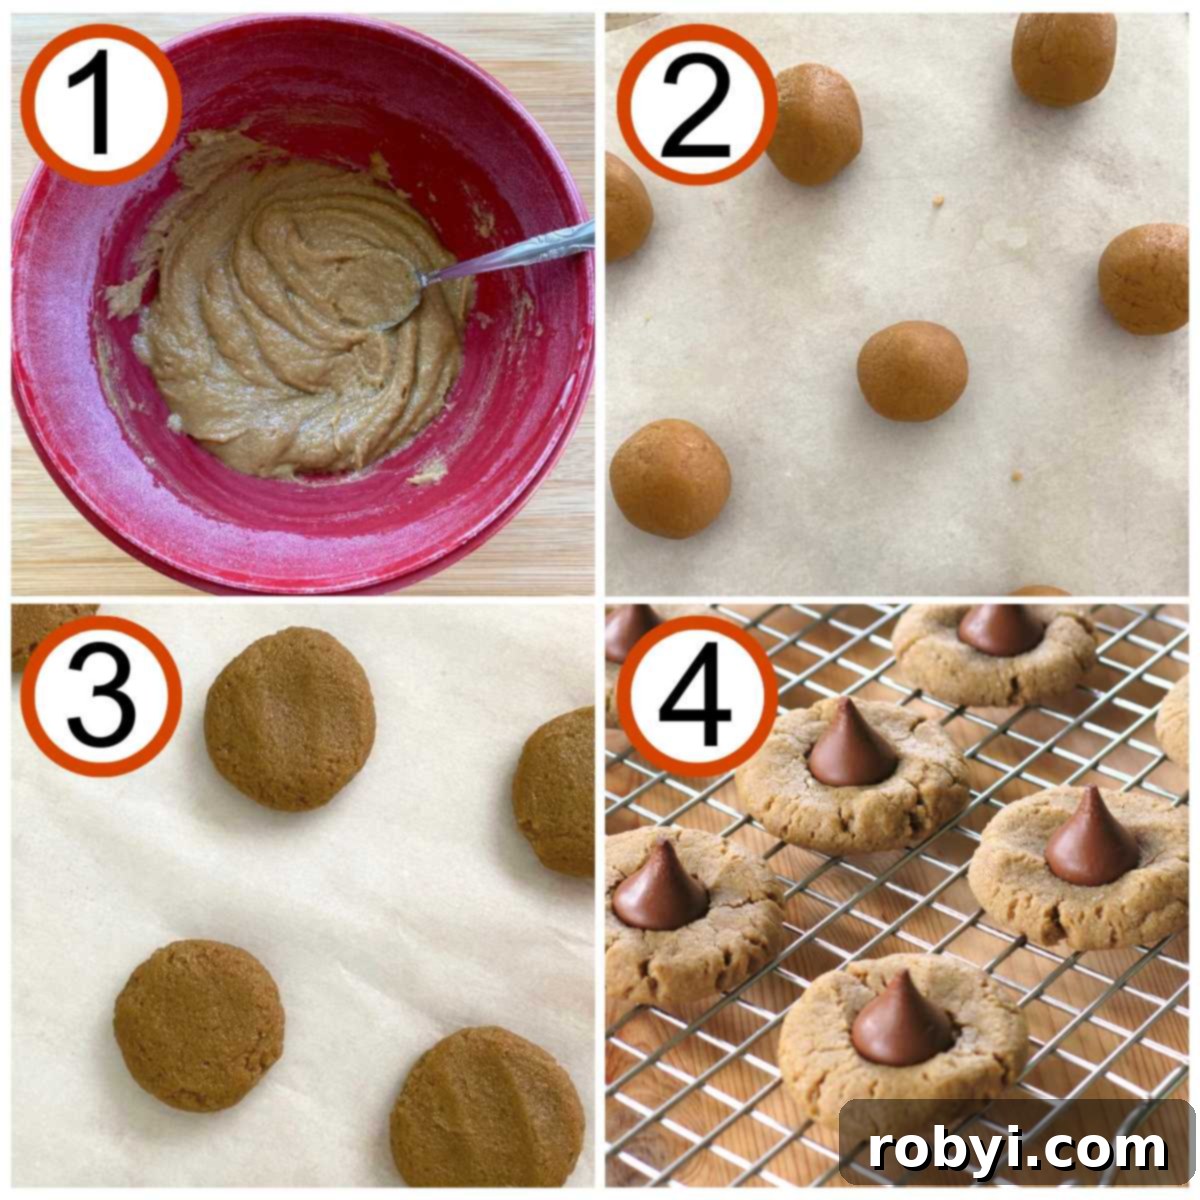
- Prepare the Dough: In a medium-sized mixing bowl, combine the natural peanut butter, granulated sugar, and egg. Using a sturdy spoon or an electric mixer, beat the ingredients until they are thoroughly blended and the mixture forms a smooth, creamy, and cohesive dough. Ensure there are no streaks of unmixed ingredients. This is the foundation of your delicious cookies!
- Form the Cookies: Once your dough is ready, use a small cookie scoop, typically a tablespoon-sized scoop, to portion out even amounts of dough. Roll each portion between your palms to form perfectly round balls. Arrange these dough balls neatly on a baking sheet that has been lined with parchment paper. Parchment paper is essential to prevent sticking and ensures easy cleanup. For an extra touch of sweetness and a slightly crunchy exterior, you have the option to lightly roll each dough ball in a shallow bowl of extra granulated sugar before placing them on the baking sheet. This creates a beautiful, sparkling finish.
- Initial Bake: Gently flatten each dough ball to approximately ½ inch thickness. This helps the cookies bake evenly and provides a stable base for the chocolate kisses. Transfer the baking sheet to a preheated oven and bake for 8 minutes. During this initial bake, the cookies will start to set and develop a light golden hue around the edges.
- Add the Chocolate Kisses: Carefully remove the baking sheet from the oven. While the cookies are still warm and soft, swiftly place one chocolate kiss (or your chosen chocolate candy) into the center of each cookie. Gently press the chocolate kiss into place. The residual heat from the cookie will begin to slightly melt the chocolate, allowing it to adhere perfectly and create that signature “blossom” effect.
- Final Bake and Cool: Return the baking sheet to the oven for an additional 3 minutes of baking. This brief second bake ensures the chocolate softens beautifully and the cookies finish cooking without over-browning. Upon removing them from the oven, the cookie bottoms will be a lovely golden brown, but the tops might still appear soft or slightly underdone. This is perfectly normal! It allows the chocolate to melt just right without burning. Let the cookies cool on the baking sheet for about 5-10 minutes. They will continue to firm up as they cool. After this initial cooling period, transfer them to a wire rack to cool completely. This ensures air circulation, preventing the bottoms from becoming soggy and resulting in a perfectly firm yet tender cookie. Enjoy your homemade peanut butter blossoms!
Storing Your Delicious Peanut Butter Blossoms
Proper storage is key to maintaining the freshness and deliciousness of your homemade peanut butter blossom cookies. Whether you plan to enjoy them over a few days or save them for a special occasion, these guidelines will help ensure they remain as delightful as the day they were baked.
- Room Temperature: Once your baked peanut butter blossoms have completely cooled, transfer them to an airtight container. Stored at room temperature, these cookies will retain their quality and delicious flavor for 3 to 4 days. To prevent them from drying out, ensure the container is sealed tightly.
- Refrigerator: For extended freshness, especially in warmer climates or if you prefer a firmer texture, you can store cooked peanut butter blossoms in an airtight container in the refrigerator for up to 1 week. The cooler temperature helps to preserve their texture and prevents the chocolate from becoming too soft.
Freezing Peanut Butter Blossom Cookies for Future Enjoyment
Freezing is an excellent way to prepare these cookies in advance or to ensure you always have a delightful treat on hand. You can freeze peanut butter blossoms either before or after baking, offering flexibility to suit your schedule.
Freezing Cooked Cookies
This method is perfect for having ready-to-eat cookies whenever a craving strikes or unexpected guests arrive.
- Cool Completely: Begin by preparing and baking the cookies as usual. It is absolutely crucial that the cookies are completely cooled before freezing. Any residual warmth can lead to condensation and ice crystals, which can compromise the texture of your cookies.
- Initial Freeze (Single Layer): Arrange the completely cooled cookies in a single layer on a baking sheet. Place the baking sheet in the freezer for 1-2 hours, or until the cookies are solid. This “flash freezing” step prevents them from sticking together when stored in bulk.
- Transfer to Container: Once frozen solid, carefully transfer the cookies to an airtight freezer-safe container or a heavy-duty plastic freezer bag. Try to remove as much air as possible from the bag to prevent freezer burn.
- Enjoy Later: For the best quality, aim to consume the frozen cookies within 2-3 months. When you’re ready to enjoy them, simply take out the desired number of cookies and let them defrost in the refrigerator for a few hours, or at room temperature for about 30-60 minutes.
Freezing Uncooked Dough Balls
Freezing the dough is a fantastic way to prep ahead and bake fresh cookies on demand.
- Prepare Dough Balls: Prepare the peanut butter cookie dough as instructed in the recipe. Form the dough into tablespoon-sized balls, but do not flatten or bake them.
- Separate Chocolate Kisses: Store the chocolate kisses separately. You can keep them in their original packaging in a cool, dry pantry or even in the freezer if you prefer. This prevents them from melting prematurely or sticking to the dough.
- Flash Freeze Dough: Arrange the uncooked peanut butter dough balls in a single layer on a parchment-lined baking sheet. Place them in the freezer until they are firm, usually about 1-2 hours.
- Store in Freezer-Safe Container: Once hardened, transfer the frozen dough balls to an airtight freezer-safe container or a heavy-duty plastic freezer bag. Again, press out excess air from bags to minimize freezer burn.
- Bake When Ready: For optimal results, use the frozen dough within 2-3 months. When you’re ready to bake, transfer the desired number of frozen cookie dough balls to the refrigerator overnight to thaw. Once thawed, proceed with the baking instructions as usual, including flattening them and adding the chocolate kisses during the second bake. You might need to add a minute or two to the baking time if baking directly from frozen, but thawing generally yields a better texture.
Explore More Delightful & Easy Cookie Recipes
If you’ve enjoyed the simplicity and deliciousness of these 3-Ingredient Peanut Butter Blossoms, you’re in for a treat! We love creating easy-to-follow recipes that deliver maximum flavor with minimal effort. Here are a few more simple cookie recipes that are sure to become family favorites, perfect for any occasion or craving:
- 2-Ingredient Pumpkin Cookies and Muffins
- 3-Ingredient Almond Butter Cookies
- Banana Oatmeal Raisin Cookies
Craving more easy, healthy, and carb-conscious recipes?
📋 Recipe: 3-Ingredient Peanut Butter Blossoms + Hershey’s Kisses

3-Ingredient Peanut Butter Blossoms + Hershey’s Kisses
Make scrumptious 3-Ingredient Peanut Butter Blossoms with Hershey’s Kisses on top for easy and festive cookies in 20 minutes. These flourless and often gluten-free cookies are a delightful treat for anyone and perfect for holiday cookie exchanges or a quick dessert.
Print Recipe
Pin Recipe
Rate This Recipe
Save this recipe?
Ingredients
- 1 cup natural peanut butter or any unsweetened nut butter (creamy without added sugar or salt works best; stir well before measuring)
- 1 cup granulated sugar (or alternative granulated sweetener)
- 1 large egg (lightly beaten; or egg replacer for vegan option)
- 24 individual pieces of chocolate (Hershey’s Kisses or similar small candies)
Instructions
- Preheat your oven to 350°F (175°C). Prepare a baking sheet by lining it with parchment paper.
- In a medium bowl, combine the peanut butter, sugar, and egg. Mix thoroughly until the ingredients are well incorporated and form a smooth, creamy dough.
- Using a small cookie scoop (about 1 tablespoon in size), scoop out portions of dough and roll them into uniform round balls. Place these balls onto the prepared baking sheet, leaving about 2 inches between each cookie. Optionally, for a sparkly finish, you can roll each dough ball in a shallow bowl of extra granulated sugar before placing it on the baking sheet.
- Gently flatten each dough ball to approximately ½ inch thickness.
- Bake the flattened cookies for 8 minutes.
- Remove the baking sheet from the oven. Immediately place one chocolate kiss (or other chocolate candy) into the center of each warm cookie and lightly press it down.
- Return the baking sheet to the oven and bake for an additional 3 minutes. The cookies’ bottoms should be golden brown, but the tops may still appear soft – this is normal and desired.
- Once baked, remove the cookies from the oven and allow them to cool on the baking sheet for 5 minutes. This crucial step allows them to set and firm up. Then, carefully transfer them to a wire rack to cool completely. The cookies will continue to firm up as they cool. Serve and enjoy!
Nutrition
Nutritional and Food Safety Disclaimer
This recipe was first published on October 7, 2015, and has since been thoughtfully updated and revised to enhance the reader experience, clarify instructions, and provide additional helpful information.
