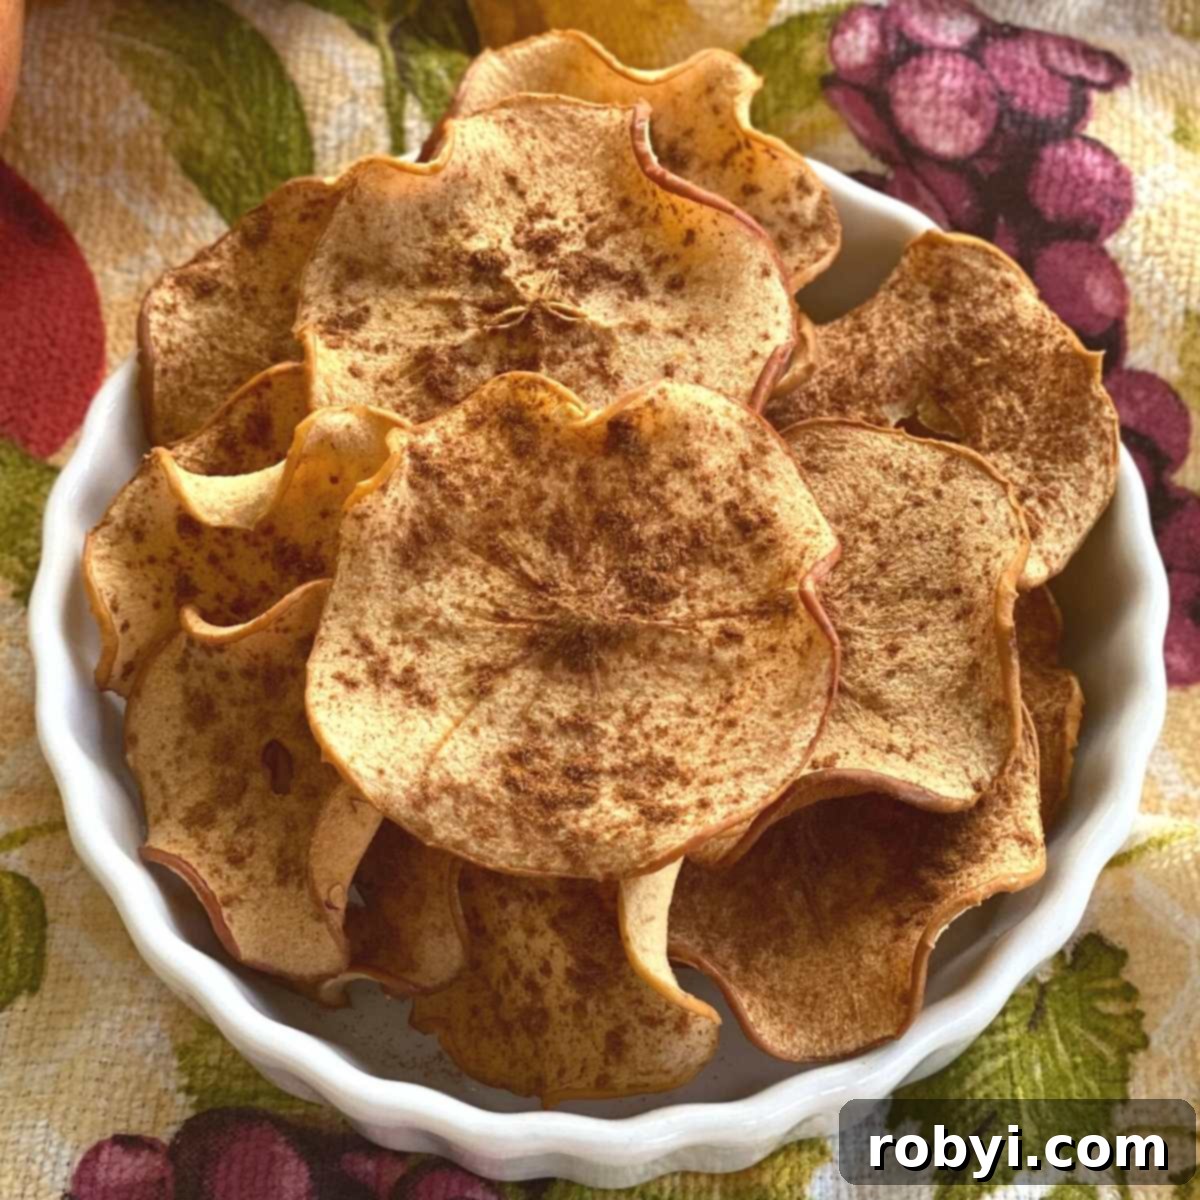
Craving a wholesome, naturally sweet, and incredibly satisfying snack? Look no further than homemade oven-dried apple chips! Forget expensive store-bought versions filled with added sugars and oils; these crispy delights are effortlessly made right in your kitchen, requiring no special equipment like a dehydrator. Just a bit of patience is all it takes to transform fresh apples into a healthy, fiber-rich treat that will become a staple in your pantry.
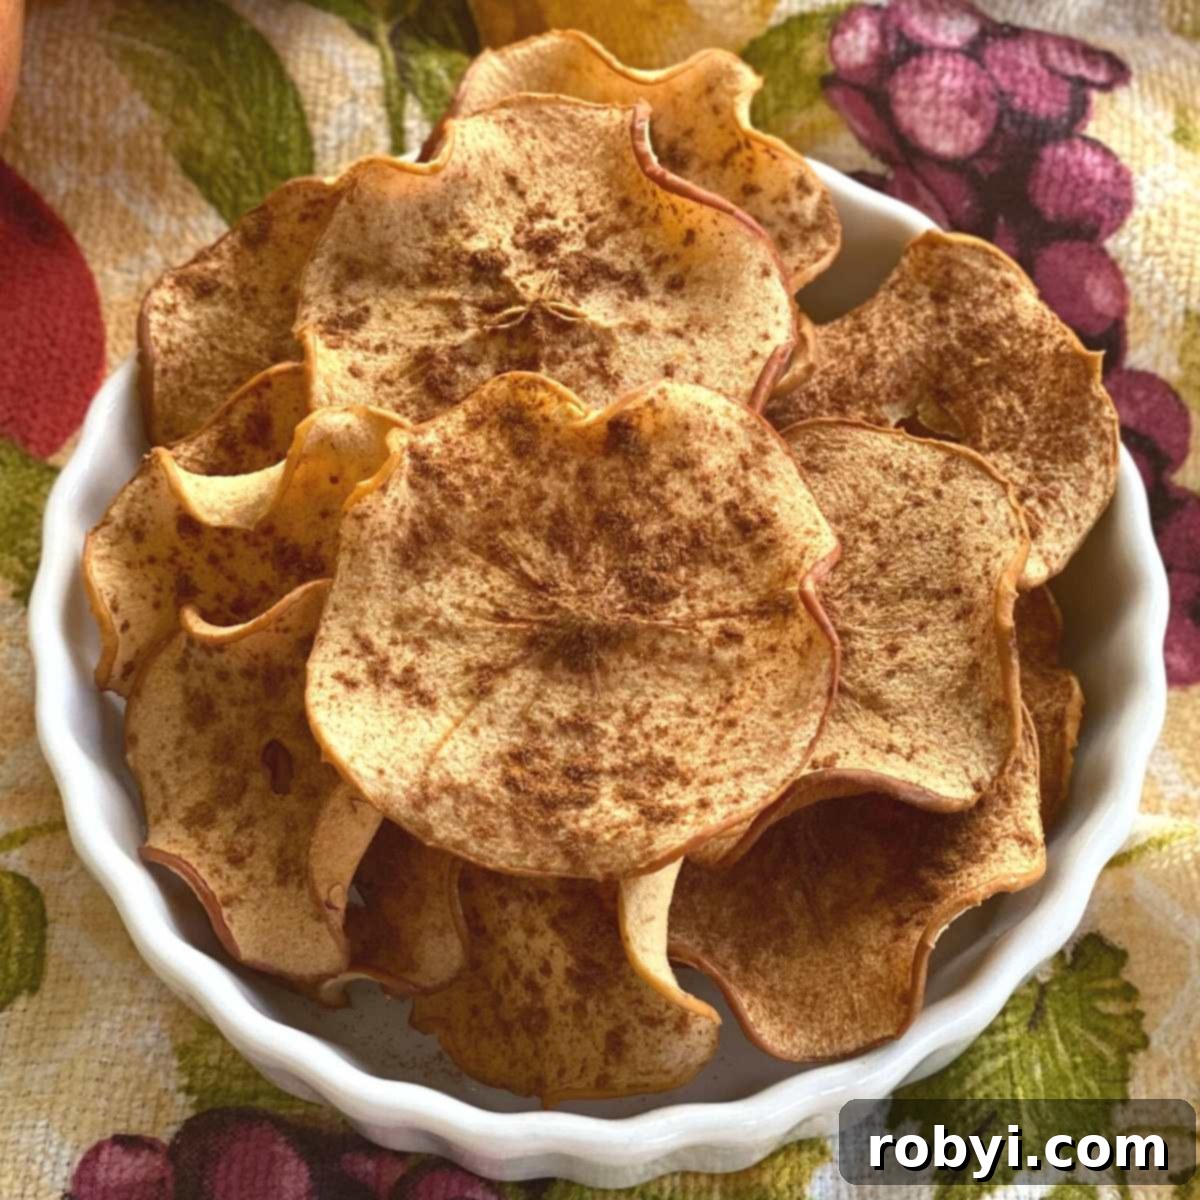
The wait is absolutely worth it! These homemade baked apple chips offer a superior flavor and crunch that store-bought varieties simply can’t match. Similar to how baked beet chips elevate a simple vegetable, oven-dried apple chips showcase the natural sweetness and vibrant taste of fresh apples in a whole new dimension.
While your apple slices are patiently baking low and slow, you’ll have ample time to prepare other delicious components, like a creamy pumpkin cream cheese dip or a delightful Almond Butter Yogurt Dip to pair with your chips. And as a wonderful bonus, your home will be filled with the inviting aroma of warm, baking apples – a truly comforting scent!
While I’m a big proponent of air fryers and microwaves for whipping up quick, healthy chip alternatives, these methods often cater best to single servings. Why? Because a plate of perfectly crisp microwave zucchini chips disappears in mere seconds at our house! For batch cooking and ensuring you have enough to share or snack on throughout the week, the oven method is truly superior.
Why You’ll Love This Oven-Dried Apple Chip Recipe:
- Simplicity at Its Best: You don’t need any specialized or fancy kitchen equipment. A sharp knife and a baking sheet are often all you require, making it accessible for everyone.
- Effortless Preparation: The process is incredibly straightforward – simply slice your apples and let the oven do most of the work. It’s a low-effort, high-reward recipe.
- Batch Cooking Friendly: The oven allows you to prepare a generous quantity of apple chips simultaneously, perfect for meal prepping healthy snacks for the entire family or for entertaining guests.
- Naturally Wholesome: This recipe contains no added sugar or oil, highlighting the natural sweetness of the apples. You also have complete control over any optional seasonings you choose to add.
- Versatile Enjoyment: There are countless ways to incorporate these dried apple chips into your diet, from snacking straight out of the bowl to using them as a garnish or ingredient in other dishes.
- Nutrient-Rich: Apples are a powerhouse of nutrition, packed with essential vitamins, antioxidants, and a significant amount of dietary fiber, promoting digestive health and satiety.
Essential Ingredients for Oven-Dried Apple Chips
Crafting delicious oven-dried apple chips requires just a few simple, high-quality ingredients. The key to their intense flavor and perfect texture lies in choosing the right apples and, optionally, a hint of spice.
- Apples: The foundation of this snack! For the most delightful results, select fresh, crisp apples. As the moisture is gently removed during the drying process, the natural flavors and sweetness of the apple become wonderfully concentrated. Sweet varieties are particularly excellent choices, ensuring a naturally sweet chip without the need for added sugar. Consider options like Ambrosia, Honey Crisp, Royal Gala, Pink Lady®, Red Delicious, and Fuji. Their inherent sweetness and firm texture hold up beautifully to the slow baking process.
- Cinnamon (Optional): A sprinkle of cinnamon adds a classic, warm, and comforting flavor that complements apples perfectly. Whether you add it depends on how you plan to enjoy your chips. For a cozy autumn feel or to enhance desserts, cinnamon is a fantastic addition. You can also experiment with other fall spices like apple pie spice or pumpkin pie spice for a more complex aroma.
One of the best advantages of using naturally sweet apple varieties is that you won’t need to add any sugar to this recipe, keeping your snack as healthy and pure as possible!
Kitchen Tools for Perfect Apple Slices
While minimal equipment is needed, a couple of tools can make the apple chip preparation process even smoother and more efficient, especially when it comes to achieving consistently thin slices.
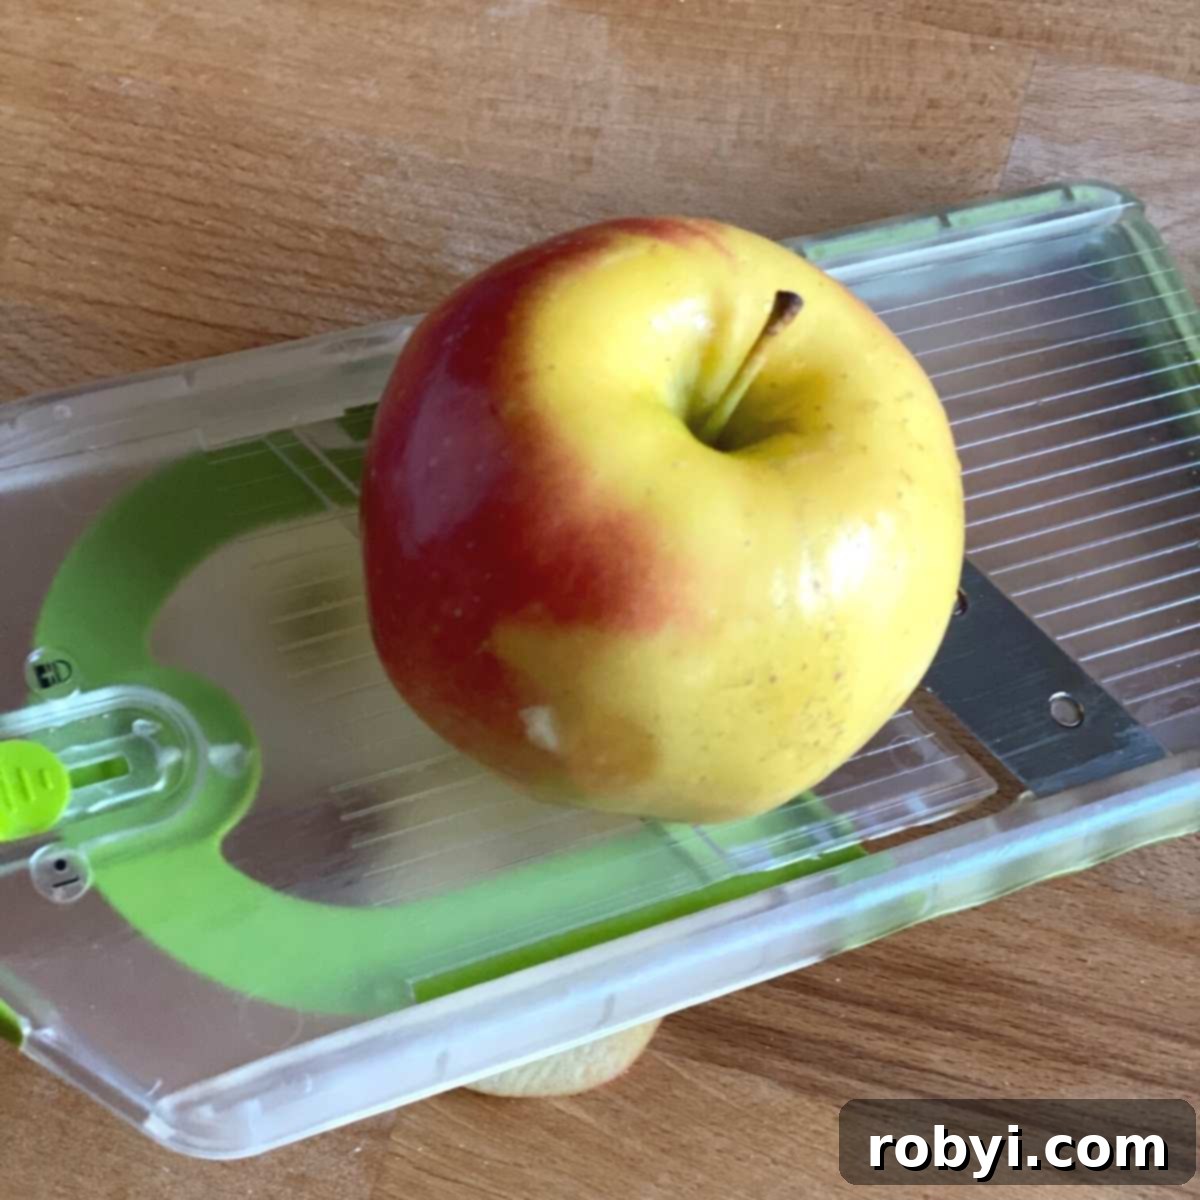
- Mandoline Slicer: This tool is incredibly useful for quickly and uniformly slicing apples to the ideal ⅛-inch thickness. Consistency is crucial for even drying, and a mandoline ensures every slice is the same, leading to uniformly crispy chips. It significantly speeds up prep time.
- Sharp Knife and Steady Hand: If you don’t have a mandoline, don’t worry! A sharp chef’s knife and a steady hand are perfectly adequate. Take your time to carefully slice the apples as thinly and evenly as possible.
- Apple Corer (Optional): To create elegant apple rings, you can use an apple corer to remove the core before slicing. However, it’s just as simple to slice the apples first and then use the tip of your knife to flick out any seeds that remain in the slices. This method works perfectly well and saves an extra step.
- Baking Sheets and Parchment Paper: You’ll need sturdy baking sheets to hold your apple slices in the oven. Lining them with parchment paper is essential to prevent sticking and ensure easy cleanup.
Step-by-Step Guide to Oven-Dried Apple Chips
If you’ve ever mastered homemade sweet potato chips, you’ll find the process of making oven-dried apple chips incredibly familiar and straightforward. The key to their delightful crispness lies in patient, low-temperature baking. Follow these easy steps to create your perfect batch:
- Preheat Your Oven: Begin by preheating your oven to a low temperature of 225°F (107°C). A low and slow bake is crucial for drying the apples rather than cooking them, ensuring they become crispy without burning.
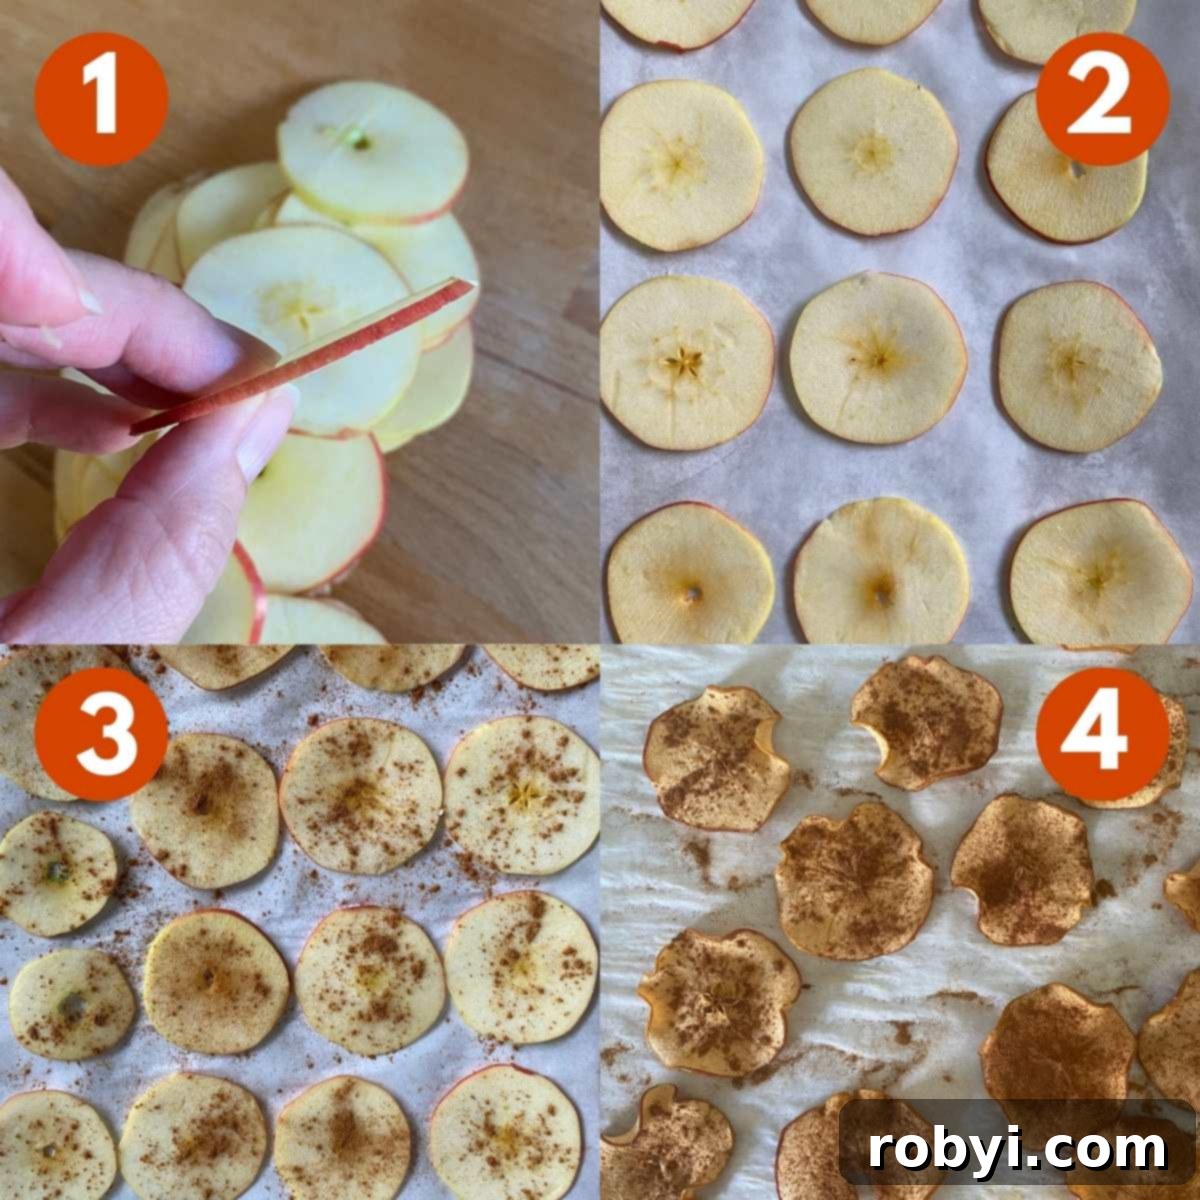
- Prepare the Apples: Wash your apples thoroughly. While peeling is optional (leaving the skin on adds extra fiber and a rustic look), ensure they are clean. Next, slice the apples uniformly to about ⅛ inch (3mm) thick. A mandoline slicer is highly recommended for achieving consistent thickness, which is vital for even drying. If using a knife, take your time to make each slice as similar in size as possible. During slicing, you’ll encounter seeds in some pieces; simply use the tip of your knife to easily remove them.
- Pro Tip for Apple Rings: For a more visually appealing presentation, you can core the apples first using an apple corer before slicing them. This will create perfect apple rings.
- Arrange on Baking Sheets: Line one or more large baking sheets with parchment paper. This prevents the apple slices from sticking and makes cleanup a breeze. Arrange the sliced apples in a single layer on the prepared baking sheets, making sure they do not overlap. Overlapping slices will steam rather than dry, leading to a chewy, inconsistent texture.
- Add Optional Seasoning: If desired, lightly sprinkle the apple slices with cinnamon, apple pie spice, or pumpkin pie spice. This adds a wonderful aroma and enhances the natural flavors of the apples. For those who prefer a pure apple taste, this step can be skipped entirely.
- Begin the Baking Process: Place the baking sheets in your preheated oven. Bake for approximately 2 hours at 225°F (107°C). The precise baking time can vary depending on several factors: the specific type of apple used (some have higher water content), the exact thickness of your slices, and the calibration of your oven.
- Flip and Continue Drying: After about 1 hour and 30 minutes into the baking time, carefully remove the trays from the oven and use tongs or a spatula to gently turn each apple slice over. This ensures even drying on both sides. Return them to the oven and continue baking for another 30 minutes, or until they reach your desired level of crispiness.
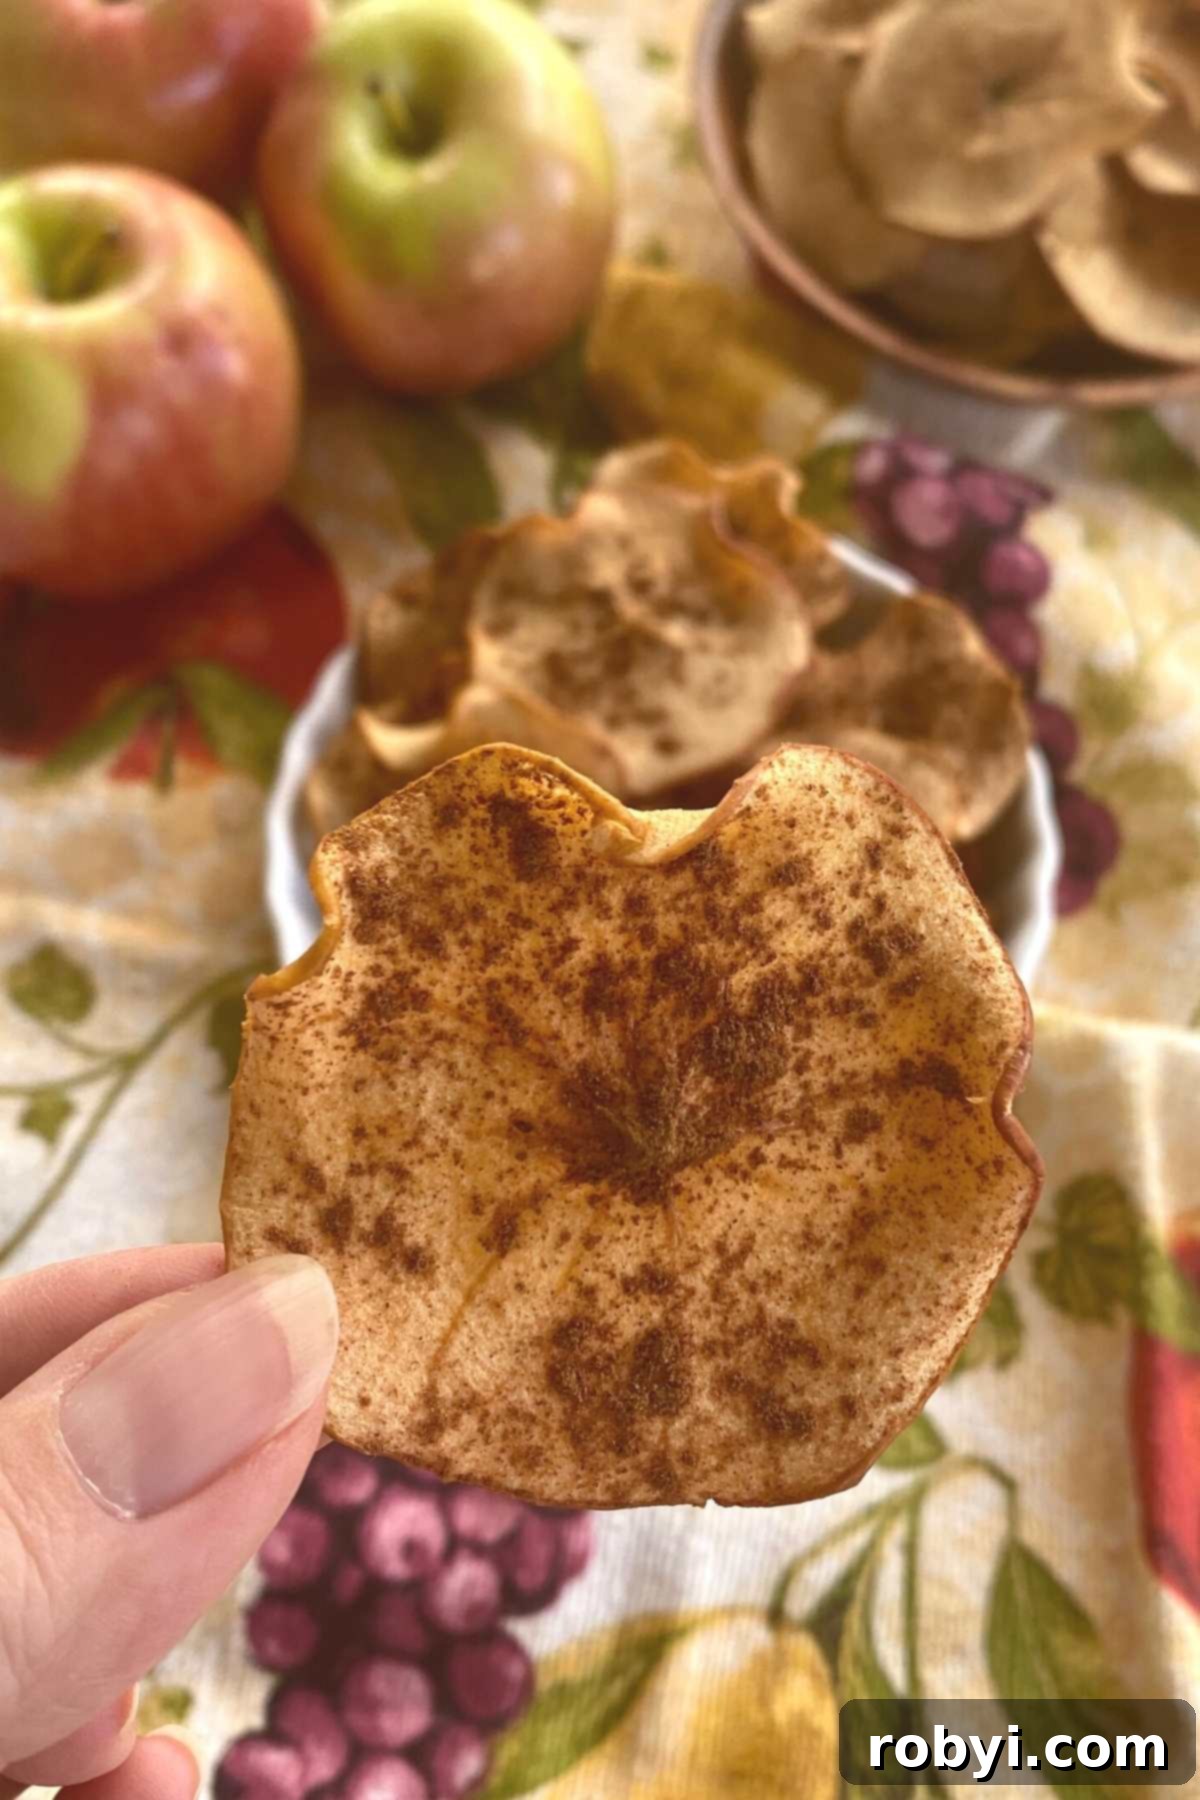
- Test for Doneness: The trickiest part is knowing exactly when they’re done. After the initial 2-hour mark, take one apple chip out of the oven and let it cool for a minute or two. Dried apple chips will continue to crisp up as they cool. If it’s firm and crispy when cooled, your batch is ready. If it’s still slightly chewy, return the entire batch to the oven and continue baking in 15-minute increments, checking for crispness after each interval.
- Expert Tip: A perfectly dried apple chip will have a satisfying crunch and will break cleanly in half if you try to snap it. Don’t be afraid to let them go a little longer if they’re still pliable.
Frequently Asked Questions About Apple Chips
Why are my apple chips chewy instead of crispy?
Chewy apple chips are usually a sign that they were removed from the oven too soon. The drying process requires patience. Apples continue to crisp as they cool, so it’s essential to perform a “cool-down test.” Remove a single slice from the baking sheet, let it cool completely for a few minutes, and then taste it. If it’s still not firm and crisp, return the entire batch to the oven for additional baking time, checking periodically until they reach the desired texture.
Can I use Granny Smith apples to make apple chips?
Absolutely! Tart apple varieties like Granny Smith can certainly be used for oven-dried apple chips. However, because they are less sweet than varieties like Honeycrisp or Fuji, you might find that the finished chips benefit from a light sprinkling of sugar (or a sugar substitute) after baking, especially if you prefer a sweeter snack. Alternatively, embrace their tartness for a different flavor profile.
Why do my apple chips turn out dark?
The final color of your apple chips can vary significantly based on the type of apple you use. Generally, apples with higher moisture content or those that oxidize more quickly (turn brown when cut) tend to result in darker chips. This is a natural occurrence and doesn’t affect their taste or quality. To minimize browning, you can quickly dip apple slices in a lemon juice and water solution before baking, though this isn’t strictly necessary for the drying process itself.
Creative Ways to Enjoy Dried Apple Chips
Once you’ve mastered the art of making oven-dried apple chips, a world of delicious possibilities opens up! These versatile crispy treats are far more than just a simple snack. Here are numerous creative ways to incorporate them into your meals and satisfy your cravings:
- Healthy Snacking: The most obvious and perhaps best way to enjoy them is simply straight out of the bowl! They’re perfect for satisfying a sweet craving without any guilt, making them an ideal pick-me-up during the day or a light dessert. Pack them in lunchboxes for a wholesome school or work snack.
- Salad Topper: Add a delightful crunch and a hint of sweetness to your favorite salads. Crumble them over a bed of mixed greens with goat cheese, walnuts, and a light vinaigrette for an elevated culinary experience.
- Oatmeal and Cereal Enhancer: Brighten up your morning oatmeal, yogurt parfait, or breakfast cereal. They provide a wonderful textural contrast and a burst of concentrated apple flavor. They’re especially good with a big batch of crock-pot steel cut oats.
- Soup Garnish: Believe it or not, dried apple chips can be a fantastic and unexpected garnish for creamy soups. Their crispness and subtle sweetness perfectly complement rich flavors, such as a hearty spicy butternut squash apple soup.
- Yogurt and Dessert Topping: Elevate plain yogurt, cottage cheese, or chia pudding with a handful of crushed or whole apple chips. They also make an excellent topping for whipped cottage cheese dessert cups or a vibrant vanilla chia seed pudding.
- Healthy Apple Nachos: Transform them into a fun and nutritious dessert or snack! Arrange them on a plate and drizzle with nut butter, a sprinkle of granola, and perhaps a few dark chocolate chips to create delicious healthy apple nachos.
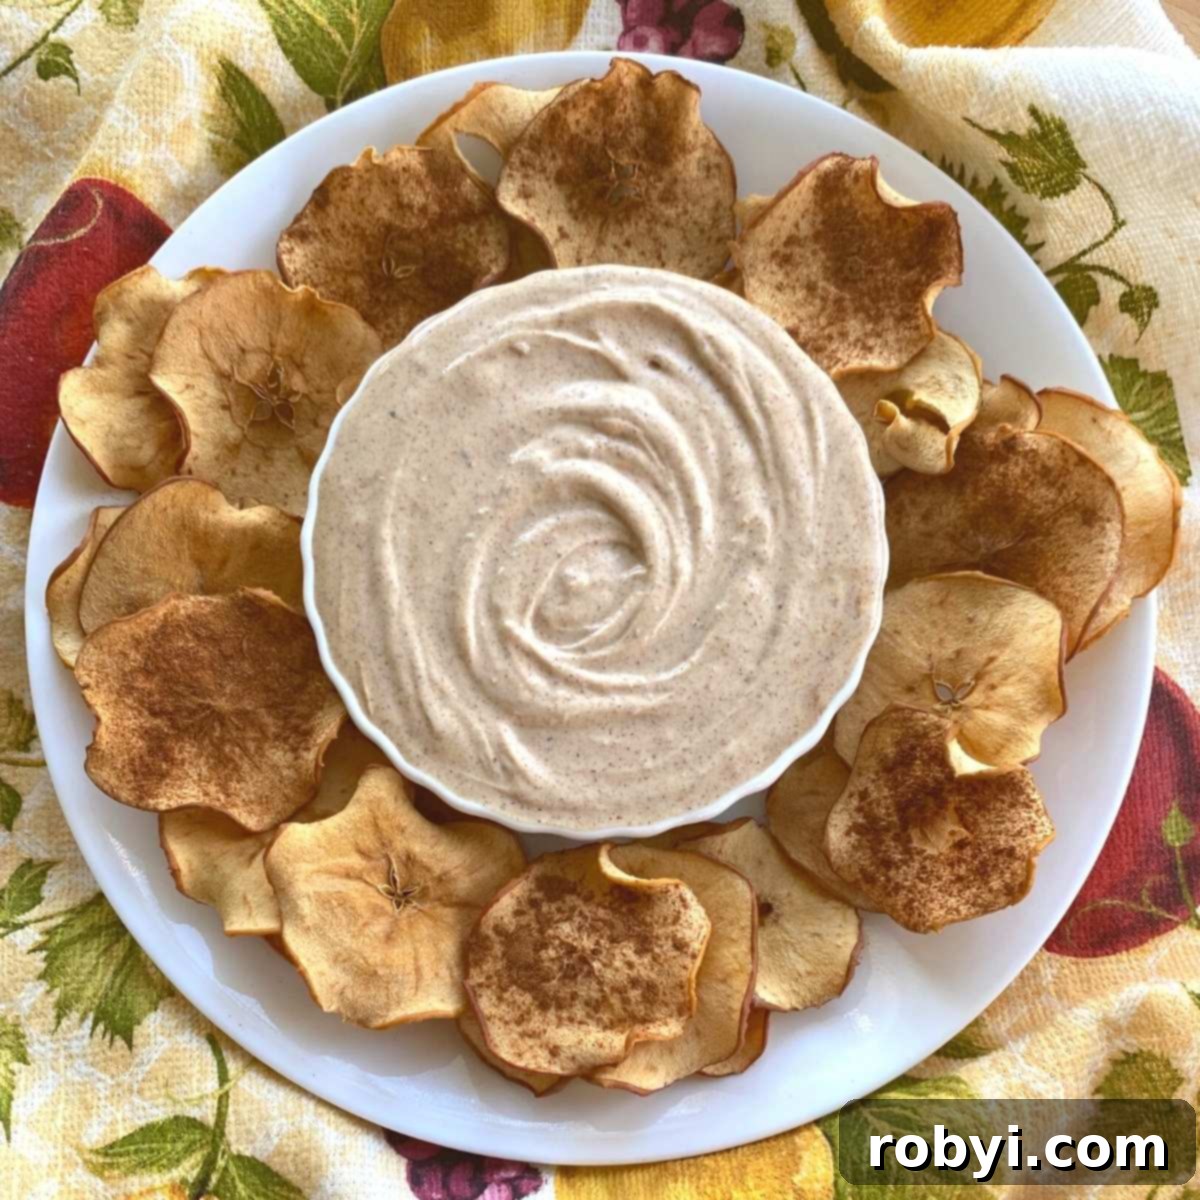
- Dip Companions: Instead of traditional crackers or unhealthy chips, use dried apple chips as dippers for your favorite spreads. They pair exceptionally well with hummus, but are truly outstanding when scooped into our creamy Nut Butter Yogurt Dip (recipe detailed below).
- Trail Mix Addition: Add them to homemade trail mix for natural sweetness and satisfying crunch, alongside nuts, seeds, and other dried fruits.
Creamy Nut Butter Yogurt Dip Recipe
This quick and incredibly easy Nut Butter Yogurt Dip is the ultimate companion for your freshly baked apple chips. Its creamy texture and balanced flavors perfectly complement the sweet crispness of the chips, creating a wholesome and satisfying snack. Here’s how to whip it up:
- ½ cup Greek yogurt: Opt for plain, full-fat Greek yogurt for the richest and creamiest texture.
- 2 Tablespoons almond butter or your favorite nut butter: Almond butter is fantastic, but feel free to use peanut butter, cashew butter, or sunflower seed butter based on your preference.
- ¼ teaspoon vanilla extract: Adds a touch of warmth and enhances the overall sweetness.
- 1 Tablespoon maple syrup, honey, or sweetener of choice: Adjust to your desired level of sweetness. Agave nectar or a sugar-free alternative can also be used.
- ½ teaspoon cinnamon: A classic pairing with apples and nut butter, adding an inviting aroma.
Instructions:
If your chosen nut butter is already on the thinner, runnier side, you can simply combine all the ingredients in a small bowl and stir vigorously by hand until everything is well mixed and smooth. However, if your nut butter is thicker or you prefer an extra-smooth, airy consistency, use a food processor or a blender to thoroughly blend all the ingredients until creamy and homogenous.
Serve this delicious dip chilled alongside your oven-dried apple chips. It’s also excellent with fresh fruit, pretzels, or even spread on toast!
Storing Your Homemade Apple Chips
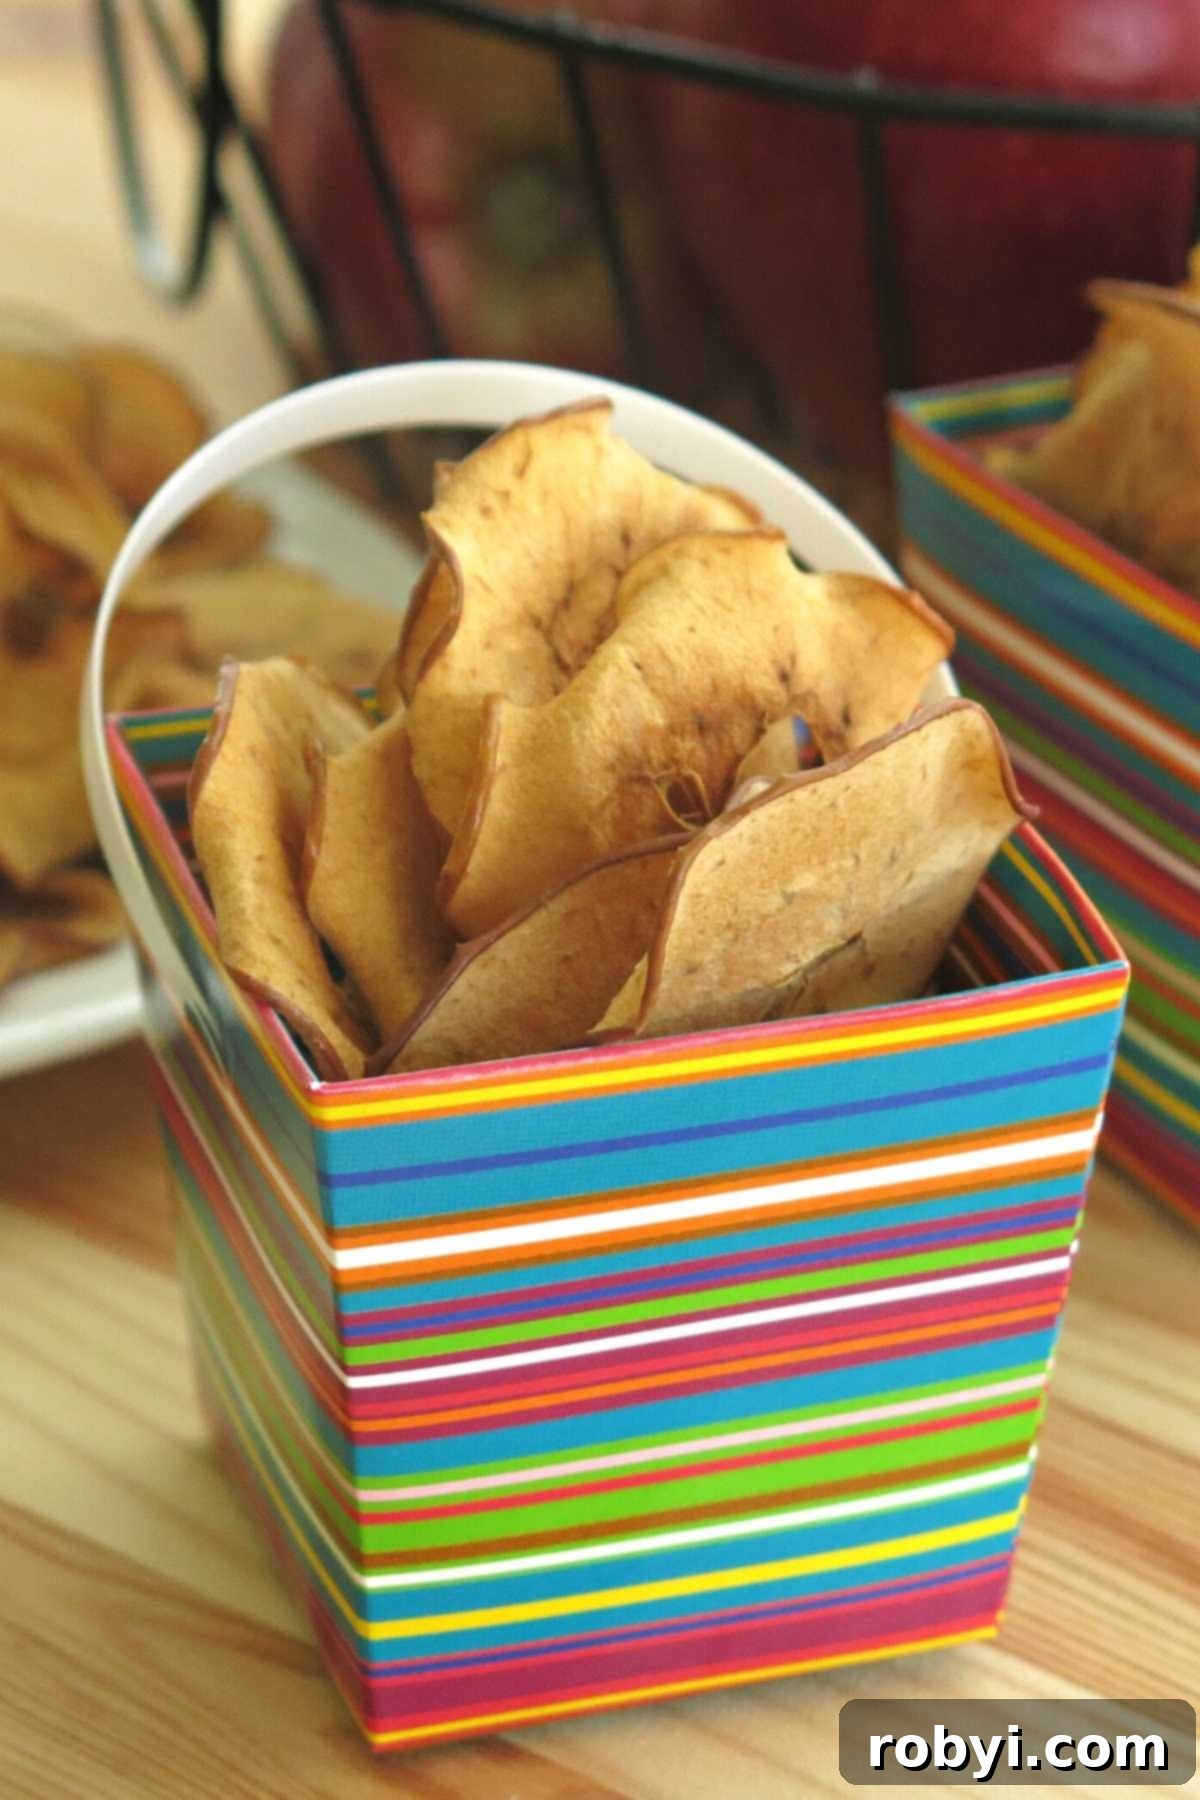
Proper storage is key to maintaining the crispness and freshness of your oven-dried apple chips. Once cooled completely, store them in an airtight container at room temperature. A glass jar or a sealed plastic container works perfectly. They will retain their delightful crispness and flavor for up to one week.
For longer storage, ensure they are thoroughly dried (no residual moisture) and consider freezing them in an airtight bag for several weeks. Thaw at room temperature before enjoying. Always ensure they are completely cool before storing to prevent condensation, which can lead to sogginess.
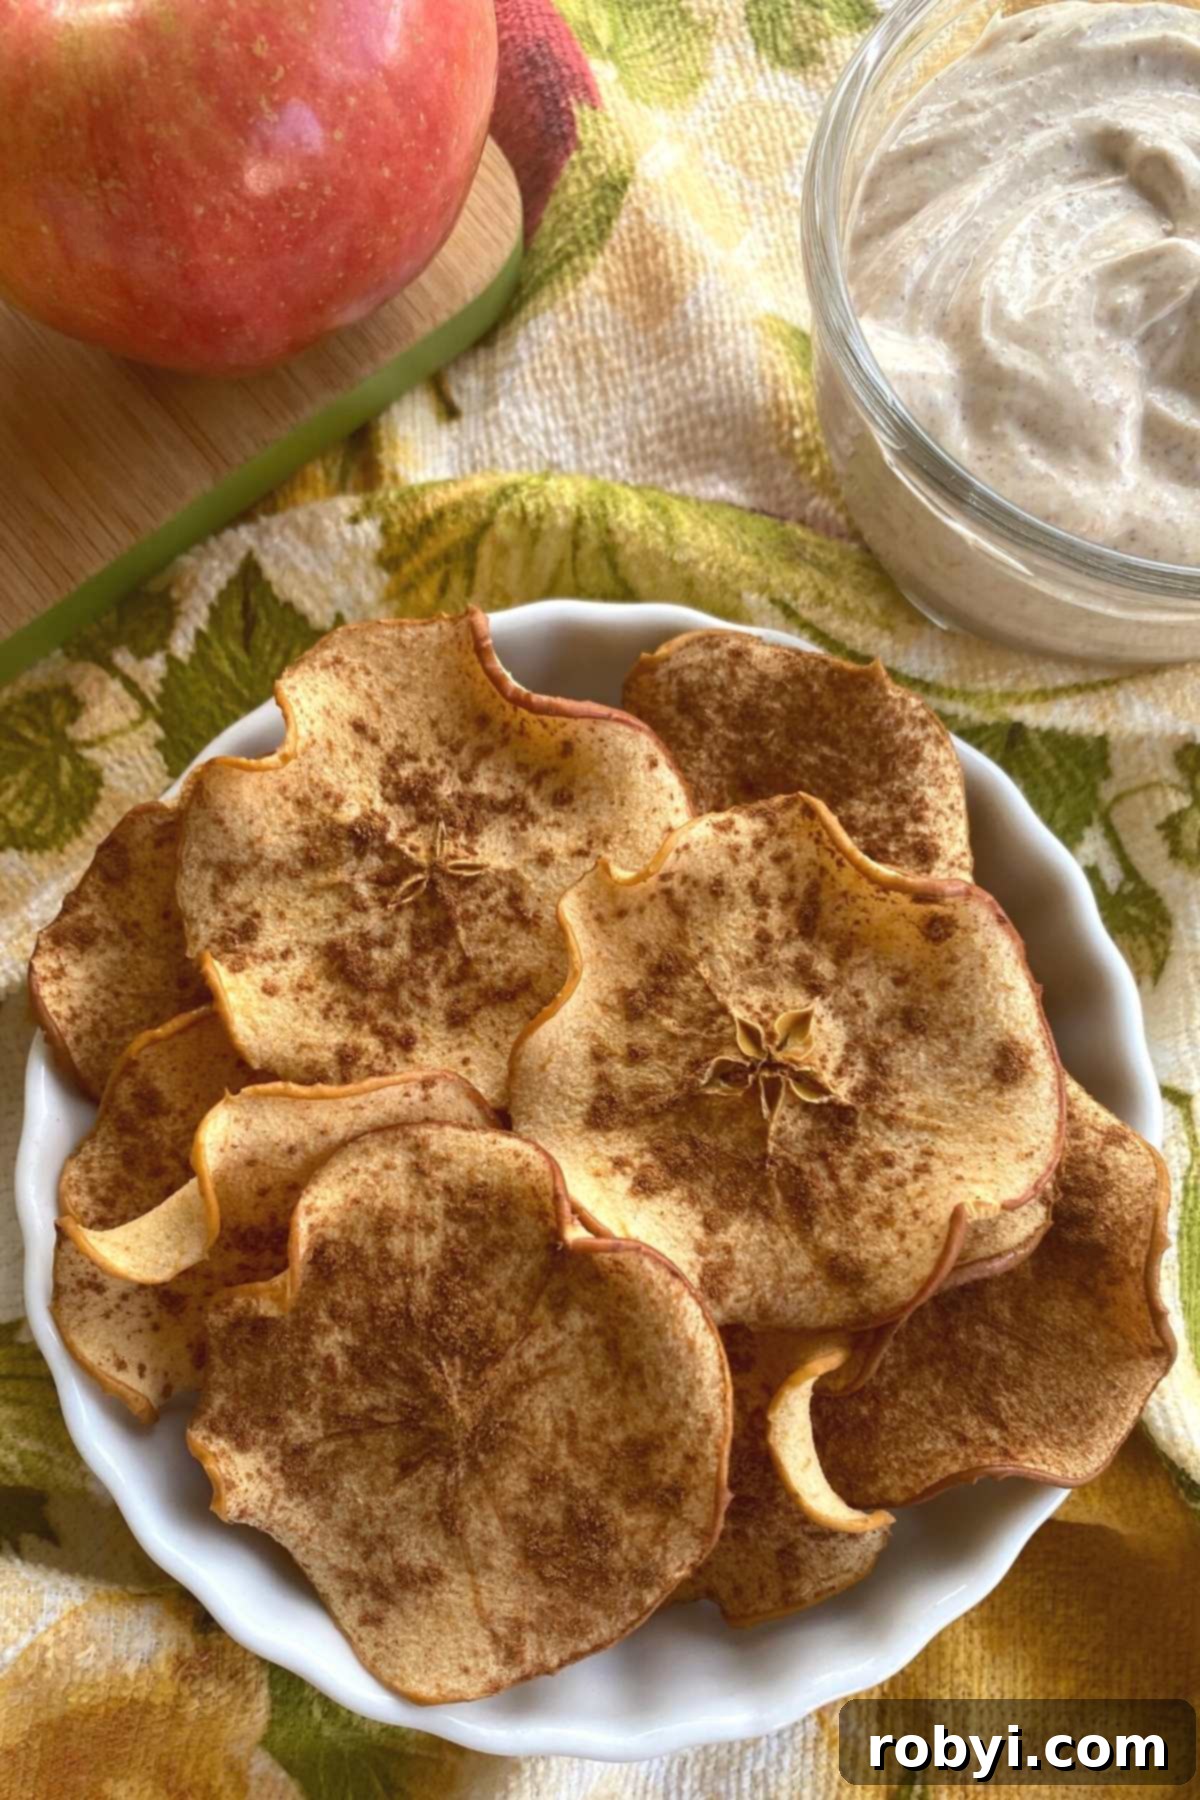
With their natural sweetness, satisfying crunch, and incredible versatility, these oven-dried apple chips are a testament to how simple ingredients can create truly extraordinary snacks. They’re a smart, fiber-filled choice that supports your health and delights your taste buds. So, what are you waiting for? Grab some fresh apples and make these healthy, homemade apple chips today – your body (and your snack cravings!) will thank you!
Discover More Healthy Apple Recipes
- Crock-Pot Apple Butter (Sugar-Free or Low-Sugar)
- Easy Microwave Baked Apples
- Healthy Apple Nachos Recipe
Looking for more easy, healthy, carb-conscious recipes?
📋 Easy Oven-Dried Apple Chips Recipe
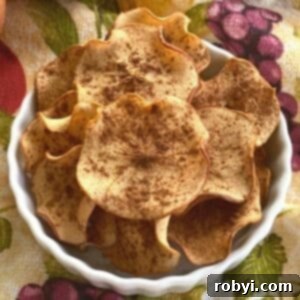
Easy Oven-Dried Apple Chips Recipe
Ingredients
- 2 apples (Ambrosia, Honey Crisp, Royal Gala, Pink Lady®, Red Delicious, and Fuji are great choices)
- ½ teaspoon cinnamon, optional
Instructions
- Preheat oven to 225 °F (107°C).
- Cut apples into slices that are ⅛ inch thick using a mandoline slicer or a sharp knife.
- Place slices on a baking sheet lined with parchment paper in a single layer. Do not overlap. Sprinkle with cinnamon if using.
- Bake for 1 and ½ hours.
- Turn over slices and bake for an additional 30 minutes, or until slices reach desired crispness. Remove one from the pan and test before taking the rest out of the oven. Note that they will continue to crisp while they are cooling on the pan.
Nutrition
Nutritional and Food Safety Disclaimer
This recipe was originally published on October 10, 2013, and has been updated to improve the reader experience and content quality.
