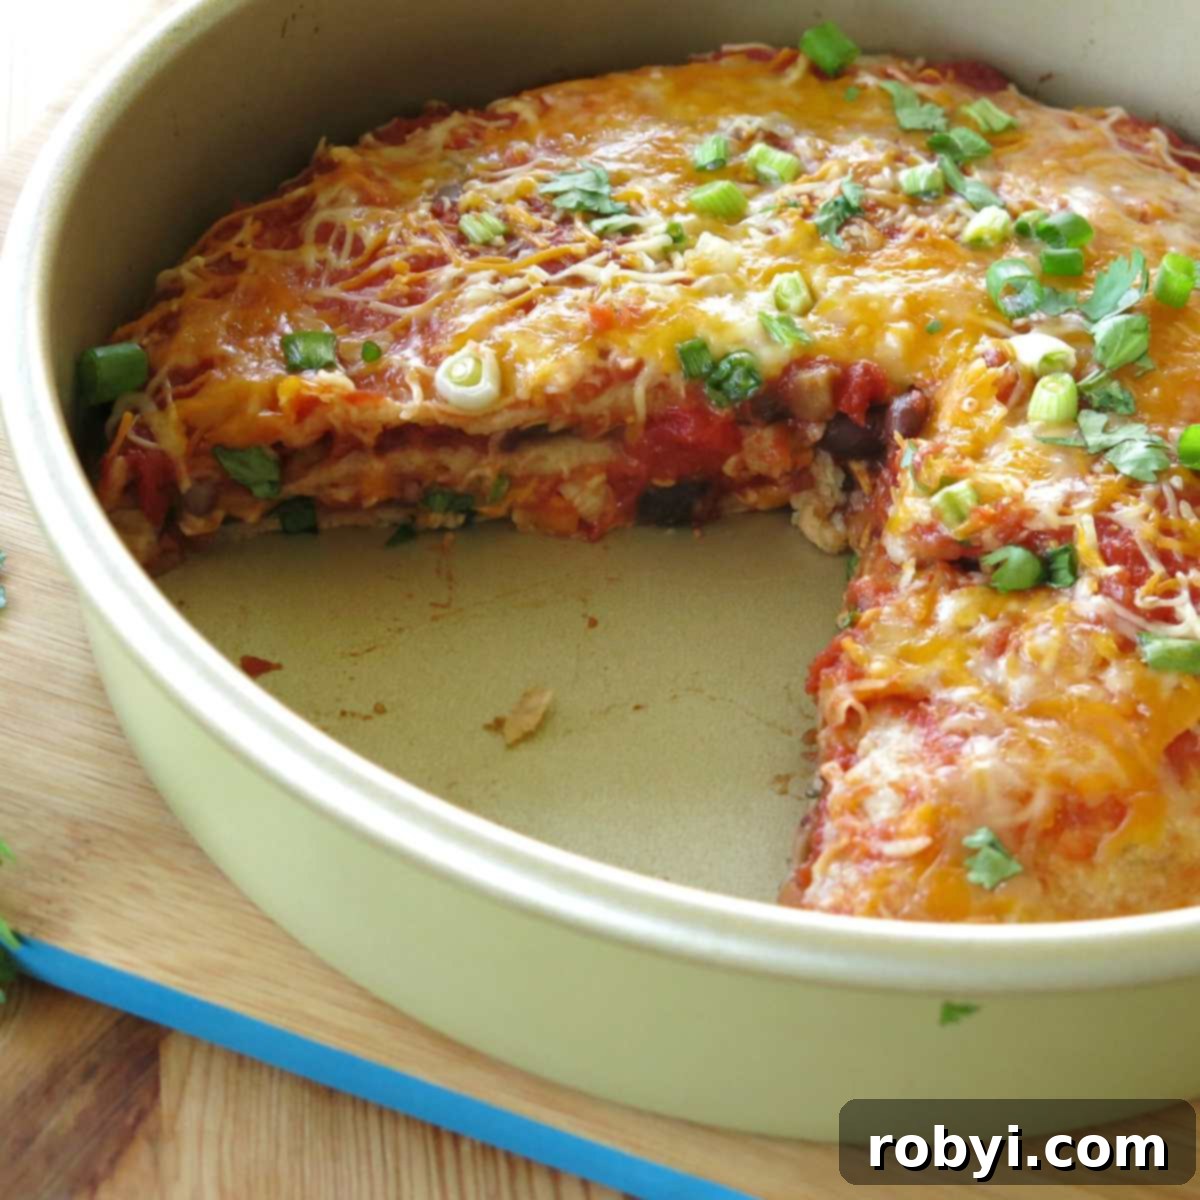
Forget the fuss of rolling individual burritos! Dive into the delicious simplicity of a Stacked Burrito Pie Casserole. This innovative recipe transforms your favorite Mexican flavors into a layered, baked sensation that’s incredibly easy to assemble and perfect for a crowd or meal prep. Imagine savory seasoned fillings, zesty salsa, and gooey melted cheese, all stacked high between soft tortillas, creating a comforting and satisfying dish that bakes to golden perfection. It’s the ultimate hassle-free solution for your next Mexican-inspired meal!
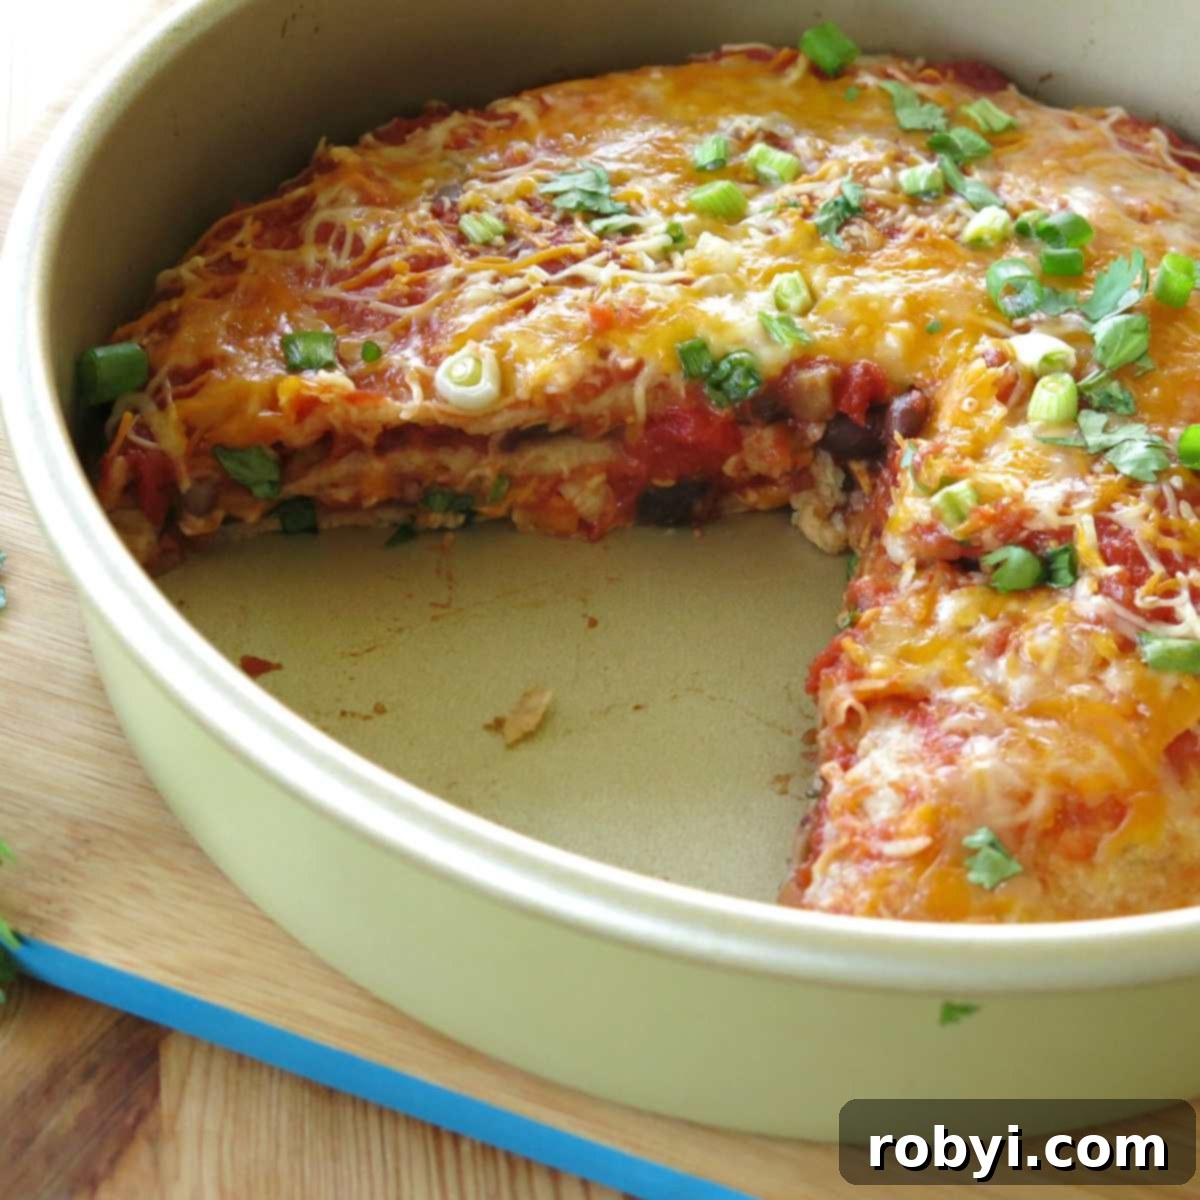
This Stacked Burrito Pie Casserole recipe shares a comforting kinship with our beloved layered chicken enchilada pie casserole. Both dishes celebrate the convenience of layering ingredients directly into a baking pan, then baking until everything is piping hot, bubbly, and the cheese has achieved peak melty goodness. It’s a method that promises maximum flavor with minimal effort, making it a fantastic choice for busy weeknights or relaxed weekend gatherings.
These types of layered casserole dishes were incredibly popular at our make-ahead meal assembly kitchen, and for good reason! Customers loved the flexibility to customize each pan to suit diverse tastes and dietary needs. Whether adding succulent chicken to some pies, opting for a vegetarian version, or omitting cilantro for certain preferences, the possibilities are endless. Plus, with a few simple ingredient swaps, you can easily make this Stacked Burrito Pie a delicious low-carb option!
Make-ahead master tip: When you’re gathering and preparing all your ingredients, consider making extra! Assemble additional burrito pies and freeze them for later. You’ll thank yourself on those hectic days when a homemade, flavorful meal is just a defrost and bake away!
Essential Ingredients for Your Perfect Burrito Pie
Achieving a smooth and enjoyable assembly process begins with proper preparation. We highly recommend gathering and prepping all your ingredients beforehand, creating an efficient “assembly line” that makes layering a breeze. The best part? All the preliminary chopping and cooking can be done up to a day in advance, saving you valuable time when you’re ready to bake!
- Fresh Green Onion: Finely chop for a mild, crisp bite and vibrant color.
- Bright Cilantro: Snip fresh cilantro leaves to add that signature herbaceous, Mexican-inspired flavor.
- Shredded Cheese: Opt for a blend like Colby and Monterey Jack for excellent meltability and flavor. Shredding your own from a block often melts better than pre-shredded varieties.
- Your Choice of Protein: If using ground beef, turkey, or chicken, ensure it’s fully cooked and seasoned to your liking. Plant-based crumbles or tofu are also fantastic options.
- Flavorful Tomatoes: While fresh diced tomatoes are lovely, using quality canned or boxed diced tomatoes (drained) is a convenient and equally delicious shortcut for the quantity needed.
- Hearty Black Beans: Rinse and thoroughly drain your black beans to remove excess sodium and starchy liquid.
- Dynamic Salsa: The salsa is a key flavor component! Any type works beautifully, from a mild restaurant-style salsa to a robust chunky variety. Don’t shy away from trying a unique fruity salsa, like peach or mango, for an unexpected twist. You can even try making your own homemade chunky salsa for ultimate freshness.
- Soft Flour Tortillas: We prefer whole wheat flour tortillas for added fiber and a nutty flavor. For a low-carb version of this recipe, select very low-carb or almond flour tortillas.
For those who frequently enjoy ground meat in their meals, a proactive approach can save significant time. I often prepare large batches of beef crumbles, portioning them into 1-cup servings and freezing them. These frozen crumbles can be directly incorporated into the layering process, provided they aren’t clumped together, making meal prep even quicker.
This recipe is wonderfully adaptable, allowing for a variety of ingredient additions and substitutions to suit any palate or pantry. Some popular variations include:
- Sweet Corn Kernels: Add a touch of sweetness and texture.
- Creamy Pinto Beans: A great alternative or addition to black beans.
- Fluffy Rice: Cooked rice, either white or brown, can be added for extra substance.
- Diverse Meats: Explore options like shredded chicken, seasoned ground turkey, or even steak strips for different flavor profiles.
- Vegan Shreds: To make this a truly dairy-free and vegan delight, swap traditional cheese for plant-based shreds.
- Sliced Olives or Pickled Jalapeños: For an extra layer of briny flavor or a spicy kick.
Choosing the Right Pan for Your Burrito Pie
The beauty of the Stacked Burrito Pie Casserole lies in its versatility, not just in ingredients, but also in presentation. Depending on your desired shape and serving style, you have a couple of excellent pan options:
For a traditional, visually appealing circular “pie” shape that’s perfect for slicing into wedges, opt for an 8 or 9-inch round cake pan or a sturdy aluminum pie tin. This size yields a compact, delightful pie that’s easy to serve and impressive on the plate.
Alternatively, for a larger batch suitable for family dinners or entertaining a crowd, a standard 9×13-inch casserole dish works wonderfully. When using a rectangular dish, you’ll need to overlap your tortillas slightly to cover the entire surface for each layer. Remember to double the ingredient amounts specified in the recipe to fill this larger pan adequately. With this method, the casserole is typically cut into convenient squares for serving.
Mastering the Art of Layering: Assembly Tips
Now, let the fun begin! Assembling your Stacked Burrito Pie Casserole is a straightforward and satisfying process, especially with all your ingredients prepped. While suggested amounts are provided for each layer in the recipe card, feel free to adjust them based on your personal preferences and the size of your chosen pan. It’s truly difficult to go wrong with this forgiving recipe!
One of the joys of this casserole is its adaptability. For instance, I often prepare multiple pies at once: perhaps two vibrant vegetarian versions with extra cheese, one hearty pie featuring seasoned ground beef crumbles, and a fully vegan option using plant-based ingredients. This allows for diverse meals throughout the week or caters to different preferences at the dinner table.
Follow these simple steps for a perfectly layered burrito pie:
- Foundation Layer: Begin by placing a single flour tortilla at the bottom of your chosen pan. This forms the sturdy base of your pie.
- First Flavor Burst: Spread a generous layer of salsa over the first tortilla. Follow this with a portion of black beans, diced tomatoes, a sprinkling of shredded cheese, and a handful of chopped green onion and cilantro.
- Optional Add-ins: This is where you can truly personalize! Integrate any additional ingredients desired, such as cooked crumbled beef, seasoned tofu, microwave corn kernels, or pinto beans.
- Second Tortilla: Gently place the second flour tortilla on top of your meticulously built first layer.
- Repeat the Magic: Replicate the previous layering steps (salsa, beans, tomatoes, cheese, herbs, and optional add-ins) to construct your second flavorful tier.
- Final Tortilla: Crown your creation with the third and final flour tortilla.
- A gentle press: At this stage, you might find it helpful to gently press down on the contents of the pie. This ensures everything fits snugly into the pan and creates a more compact, even casserole.
- Finishing Touch: Complete your masterpiece with a final, lighter spread of salsa and a generous top layer of shredded cheese. You can also sprinkle with a little extra green onion for garnish.
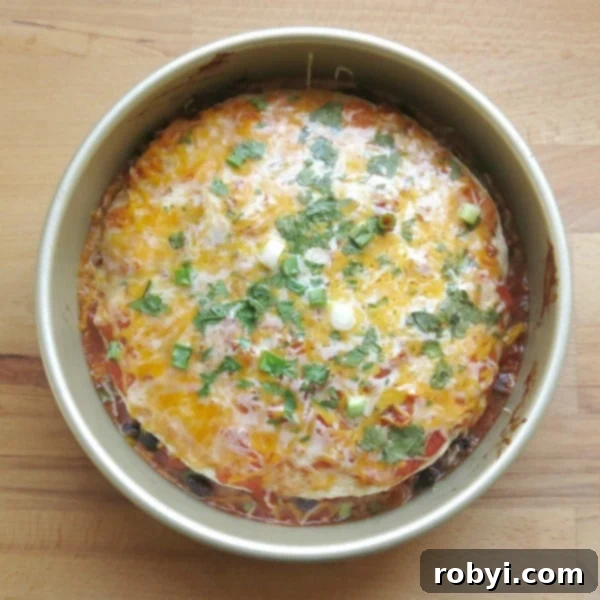
Bake your Burrito Casserole Pie in a preheated oven at 350 degrees F (175 degrees C) for approximately 30 minutes, or until the casserole is heated through, the cheese is beautifully melted and bubbly, and the edges are lightly golden.
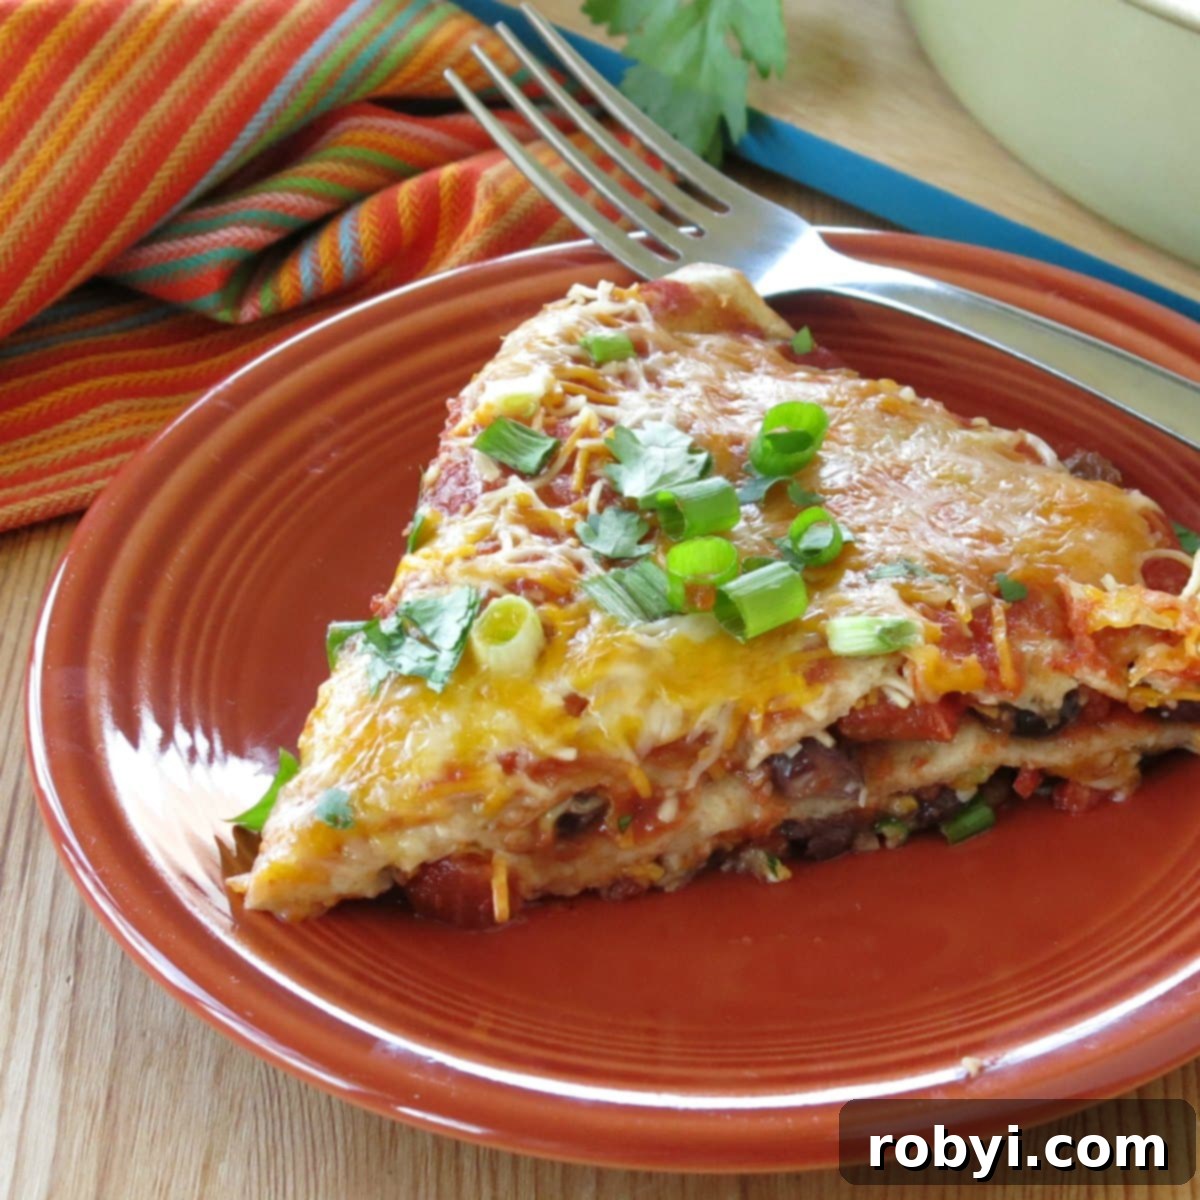
For the best serving experience, it’s crucial to allow the pie to rest for about ten minutes after removing it from the oven. This brief setting period helps the layers firm up, making for cleaner, more intact slices. Once rested, adorn each serving with a dollop of cool sour cream, a spoonful of fresh guacamole dip, or a sprinkle of black olives, and savor every delicious bite!
Mastering Make-Ahead: Freezing Your Burrito Pies
The Stacked Burrito Pie Casserole is an outstanding candidate for make-ahead meal prep, freezing beautifully to provide delicious dinners on demand. Here are some detailed tips for freezing and reheating your pies:
Once you’ve assembled your burrito pie in its baking pan, cover the pan tightly with a layer of aluminum foil. For extra protection against freezer burn, enclose the entire foiled pan in an additional layer of plastic wrap. Crucially, always remember to label your package with the dish’s name and the date it was frozen. This prevents “mystery meals” in the future!
If you’re using a reusable cake pan and can afford to have it in the freezer for a period, simply place the well-wrapped pan directly into the freezer. This is the simplest method.
However, if you need your cake pan back quickly, here’s a clever trick: before assembling your burrito pie, line the pan entirely with aluminum foil, leaving enough overhang on the sides to easily lift the pie out later. Assemble the pie as usual within the foil-lined pan. Freeze the entire assembly for about an hour, or until the pie is firm enough to hold its shape. Then, carefully lift the partially frozen pie out of the pan using the foil overhang. Wrap the pie completely in the aluminum foil, then in plastic wrap, label it, and return it to the freezer. When you’re ready to cook, simply unwrap and place the frozen pie back into the original cake pan before defrosting and baking.
When you’re ready to enjoy your frozen burrito pie, transfer it from the freezer to the refrigerator and allow it to defrost overnight (approximately 12-24 hours). Once thawed, follow the cooking instructions provided in the recipe to bake it to perfection. If baking from frozen, you will need to add significantly more baking time (often an extra 30-60 minutes) and ensure it’s fully heated through before serving.
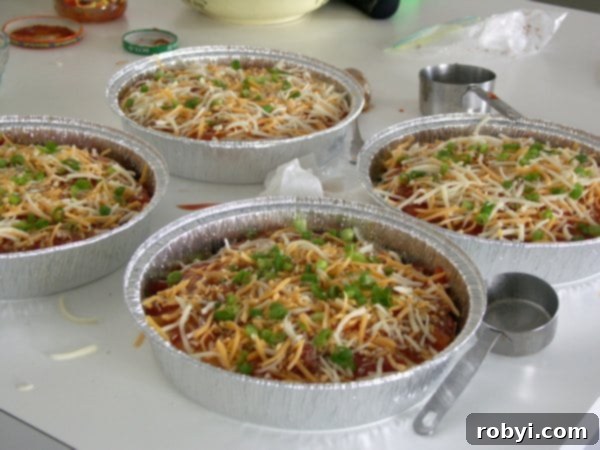
Behold the marvelous accomplishment! What might appear to some as a delightful mess in the making, is, to me, the promise of several easy, delicious dinners. Embrace the beauty of meal prepping and enjoy the savory rewards of your efforts!
Searching for more easy, healthy, carb-conscious recipes?
📋 Stacked Burrito Pie Casserole Recipe
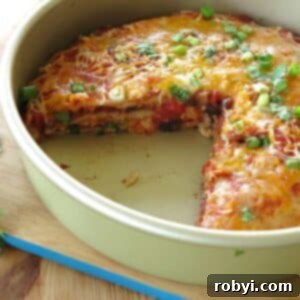
Layered Burrito Pie Casserole
Stack your favorite burrito ingredients 3 layers high and bake for an easy, delicious meal.
Cook Time: 30 minutes
Total Time: 45 minutes
Author: Marjory Pilley
Save this recipe? Enter your email & get this recipe sent to your inbox! Plus receive new recipes each week!
Ingredients
- 3 flour tortillas 7-8 inches (whole wheat recommended)
- 1 cup salsa (try a fruity or spicy variety for a change of pace)
- 15 ounces black beans (rinsed and drained)
- 14.5 ounces diced tomato (drained)
- 1 ½ cups Colby and Monterey Jack cheese (shredded)
- ¼ cup cilantro (chopped)
- ¼ cup green onion (sliced, plus a little more for garnish)
- Optional toppings for serving: sour cream, guacamole, black olives
Instructions
- Preheat oven to 350 degrees F (175 C).
- Place 1 flour tortilla in the bottom of a pan (round or square, 8-9 inches).
- Spread ⅓ cup salsa over the first tortilla.
- Layer ½ the black beans, ½ the tomatoes, and ½ cup cheese on top.
- Sprinkle 2 Tablespoons of cilantro and 2 Tablespoons green onion on top.
- Layer the second flour tortilla on top.
- Repeat steps 3-5 to create the second layer.
- Layer the third flour tortilla on top.
- Spread remaining salsa, cheese, and green onion on top.
- Cover with aluminum foil and bake for 20 minutes.
- Remove foil and bake for 10 minutes more or until cheese is melted and bubbly.
- Allow pie to set for about 10 minutes before serving for easier slicing.
- Serve with desired toppings such as sour cream and guacamole.
Notes
To make this recipe low in carbs:
- Use low-carb flour tortillas.
- Substitute diced chicken or other lean protein for black beans.
- Opt for a no-sugar-added salsa.
Freezer notes:
This dish freezes exceptionally well. Once assembled, cover the pie tightly with aluminum foil and then wrap in plastic wrap. Be sure to label the pan with the contents and date. It can be stored in the freezer for up to 2 months. When you’re ready to enjoy the dish, allow it to defrost in the refrigerator for about 24 hours before following the baking instructions.
Nutrition
Nutritional and Food Safety Disclaimer
