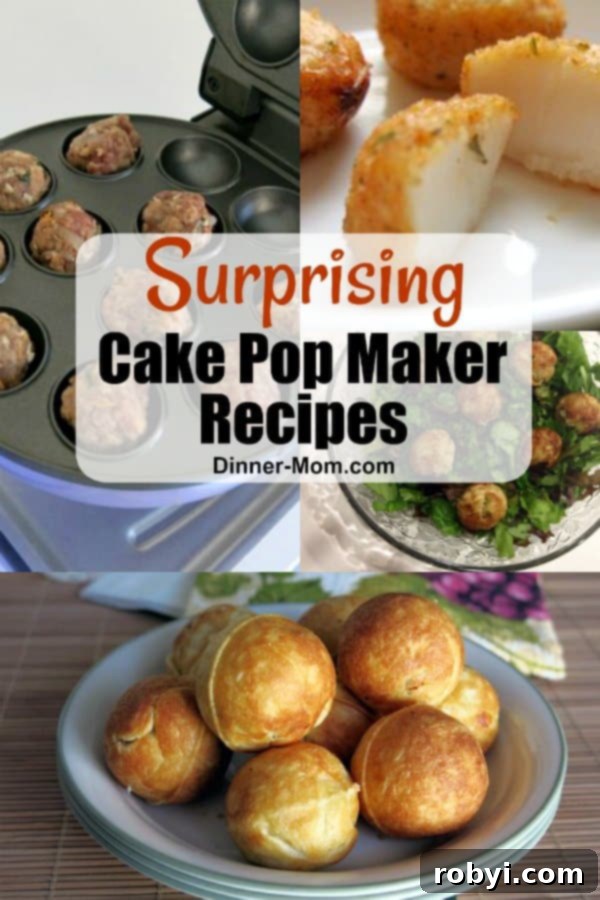
The culinary world is constantly evolving, bringing forth innovative gadgets that promise to simplify our kitchen adventures. Among these, the BabyCakes Cake Pop Maker has carved out a unique niche, captivating home cooks with its compact size and surprising versatility. What began as a tool for crafting delightful cake pops has evolved into an experimental hub, inspiring a quest for unconventional recipes that push the boundaries of this trendy appliance. My journey with the cake pop maker is driven by a continuous curiosity: “What else can this little machine create?” This obsession often leads to genuinely delightful and unexpected culinary revelations.
Far from being limited to sweet treats, the cake pop maker has proven its mettle in producing a variety of savory dishes, transforming everyday cooking into an exciting exploration. Below, I’m thrilled to share the results of my latest experiments, showcasing how this compact appliance can handle everything from delicate seafood to hearty meatballs, all while adding an element of fun to your cooking routine. Prepare to discover some truly surprising and delicious cake pop maker recipes that might just change the way you look at your kitchen gadgets.
Gourmet Parmesan Crusted Scallops in Your Cake Pop Maker
One of the most delightful discoveries has been the ability to cook delicate sea scallops in the cake pop maker. Their natural size and shape are absolutely perfect for the individual wells of the appliance, making it an ideal method for achieving beautifully seared scallops with a crispy, golden crust. Forget the fuss of a hot pan or oven; this method offers a simplified approach to a seemingly gourmet dish.
Recipe and Cooking Instructions for Cake Pop Maker Scallops:
- Begin by preparing your scallops according to a reliable recipe for Broiled Scallops with a Parmesan Crust. This involves seasoning the scallops and coating them with a flavorful Parmesan breading mixture. Ensure your scallops are patted dry before breading for the best crust.
- Using a pastry brush, lightly coat each well of your cake pop maker with a touch of olive oil. This prevents sticking and helps achieve that desirable crispy exterior.
- Preheat the cake pop maker thoroughly. You’ll know it’s ready when the indicator light signals it.
- Carefully place one prepared scallop into each well. Cook for approximately 4 minutes. If you own a flip-over model, gently turn the scallops halfway through the cooking time to ensure even browning on both sides. The scallops are perfectly cooked when they appear opaque white throughout when cut in half.
- If you plan to cook additional batches, use your pastry brush to gently remove any residual breading or crumbs left in the wells before adding the next round of scallops. This keeps the machine clean and prevents burning.
The Culinary Advantage:
The Good: The results were outstanding! The scallops cooked to perfection, developing a beautifully crispy Parmesan crust while remaining tender and succulent inside. The cake pop maker provided an incredibly consistent cooking environment, leading to uniform results across all scallops. Furthermore, the process was remarkably clean, with minimal splatter compared to pan-searing. For individuals or couples, this method is far more convenient and less time-consuming than heating a large oven. With approximately 6 scallops making a generous single serving, cooking for two to three people required just a couple of quick batches, making it surprisingly efficient.
The Bad: Honestly, it’s challenging to find significant drawbacks for this recipe. If you’re feeding a large family, preparing multiple batches might take a little longer than a single large oven tray. However, the superior texture and ease of preparation easily outweigh this minor inconvenience. This discovery ranks high among my favorite cake pop maker recipes, offering a simple route to a sophisticated meal.
Would I make it again? Absolutely, without a doubt. This method is a game-changer for scallop lovers seeking a quick, clean, and delicious preparation.
Perfectly Portioned Meatballs Made Easy
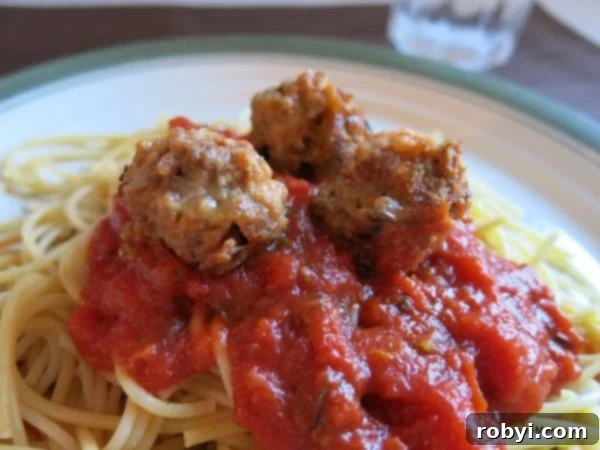
Who knew a cake pop maker could churn out adorable, perfectly sized meatballs? They are incredibly cute and offer a fantastic option for a quick weeknight dinner, appetizers, or even a lunchbox addition. This method promises a different texture profile than pan-fried or baked meatballs, with a delightful all-around browning.
Recipe and Instructions for Cake Pop Maker Meatballs:
- Start with your preferred meatball mixture. I recommend using a flavorful recipe like the Gourmet Meatloaf recipe, which adapts wonderfully for meatballs. Adjust the yield as needed; I often prepare a full batch, using some for immediate meatballs and shaping the rest into mini meatloaves to freeze for future meals.
- Form the meat mixture into small balls, no larger than a tablespoon in size. Ideally, they should be slightly smaller to ensure they cook evenly and fit comfortably within the wells without overflowing.
- Preheat your cake pop maker until it reaches its optimal cooking temperature.
- Carefully place the meatballs into the preheated wells. Cook for approximately 5-6 minutes, or until they are no longer pink in the center. The cooking time may vary slightly based on the size of your meatballs and the wattage of your appliance.
- Cautionary Note: If you possess a flip-over model, exercise caution if you choose to flip the meatballs. As the meatballs cook, their fat content will render, filling the wells with hot juices. This is precisely why some models include a drip tray. For my experiment, I opted not to flip them, and they still cooked beautifully and browned sufficiently on all sides, demonstrating that flipping isn’t strictly necessary for a good outcome.
The Experience Unpacked:
The Good: The flavor and texture were remarkably similar to meatballs cooked in a conventional oven, retaining all the juiciness and seasoning we love. The cake pop maker ensured even cooking and a nice crust, making them highly enjoyable. The convenience of not having to preheat a large oven or manage multiple pans for a smaller batch was also a significant plus.
The Bad: This method can be quite messy. Despite my decision not to flip them, the rendering fat accumulated in the wells, requiring a thorough clean-up afterward. It’s certainly not a “no-mess” option. This messy aspect made me hesitant to make multiple batches; cleaning between each would have been time-consuming and tedious. Therefore, while good for a single, smaller batch, it might not be the most practical choice for feeding a crowd.
Would I make it again? To be transparent, while tasty, this isn’t my top pick among cake pop maker recipes due to the clean-up. However, if I needed just one small batch of meatballs for a quick meal or an appetizer and wanted to avoid using the oven, I would certainly consider it again.
Delectable Crab Cake Bites for Any Occasion
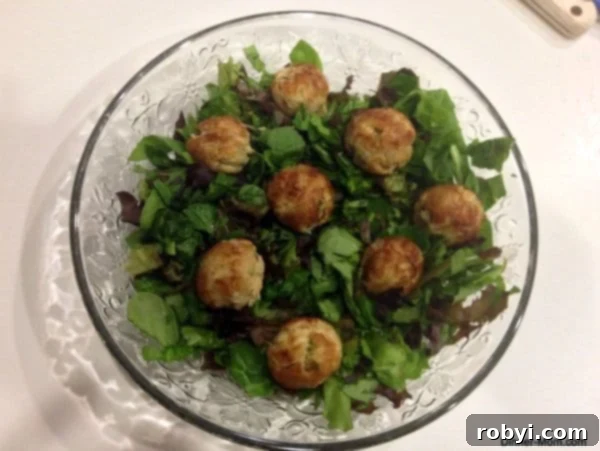
For those who adore seafood, the cake pop maker offers a surprisingly efficient way to create perfectly portioned crab cake bites. These miniature versions of a classic delicacy are not only adorable but also cook up beautifully, achieving a delightful golden-brown exterior and a tender, flavorful interior. They make excellent appetizers, light lunches, or a sophisticated snack.
Recipe and Instructions for Cake Pop Maker Crab Cakes:
- Prepare your favorite crab cake mixture. I highly recommend using a rich and authentic recipe such as the Maryland Style Lump Crab Cake recipe. Once your mixture is ready, form it into tablespoon-sized balls. The smaller size is crucial for proper fit and even cooking in the cake pop maker wells.
- Using a pastry brush, lightly dab a small amount of olive oil into each well of the cake pop maker. This aids in browning and prevents the delicate crab cakes from sticking.
- Preheat the cake pop maker to its operating temperature.
- Carefully place one crab cake ball into each well. Cook for approximately 4-5 minutes, or until the exterior is lightly browned and crispy. If your model allows for flipping, turn them halfway through the cooking time to ensure an even crust on both sides.
Pros and Cons of Cake Pop Maker Crab Cakes:
The Good: The speed and ease of preparing these crab cakes were exceptional. The process was surprisingly clean, with very little mess to contend with. The cake pop maker consistently produced perfectly browned, crispy exteriors, which is often the most challenging part of cooking crab cakes. They came out tasting incredibly fresh and delicious, living up to the quality of their full-sized counterparts.
The Bad: The primary drawback here is the capacity. If you’re planning to serve more than two people, you’ll find yourself making several rounds of crab cakes. While each round is quick, the cumulative time for a larger gathering could be considerable. However, for a small meal or individual servings, it’s remarkably efficient.
Would I make it again? Absolutely, yes! This method is a winner. The next time I prepare a full batch of crab cakes, I plan to form about 12 tablespoon-sized balls (which typically equates to about three standard crab cakes) to freeze. These will make for a fantastic, quick, and indulgent lunch treat when I’m dining alone and craving something special without the fuss.
The Ever-Popular Pizza Bites & Donut Holes: Classic Cake Pop Maker Recipes
Our initial foray into the diverse capabilities of the BabyCakes Cake Pop Maker began with a simple craving: quick and easy donut holes. This quickly expanded to include savory pizza bites, and these two recipes have since become undisputed family favorites, cementing their status as the most popular cake pop maker recipes in our household. They perfectly embody the appliance’s promise of speed, convenience, and fun.
The beauty of these recipes lies in their utter simplicity and the joy they bring to the kitchen. In a matter of moments, we can transform a can of Pillsbury crescent rolls into a delightful meal or snack. Simply unroll the dough, cut it into 24 small squares, place about a teaspoon of your chosen filling onto each square, roll it up, and in just 3 minutes, a hot and delicious dinner is served! My daughters absolutely adore getting involved in the making process, which adds an extra layer of enjoyment. As a parent, I particularly appreciate the automatic portion control these little bites offer, making them ideal for healthy snacking or meal planning.
If you’re still considering adding this versatile appliance to your kitchen arsenal, I highly recommend checking out the BabyCakes Cake Pop Maker in the Dinner-Mom store. It’s an investment that pays dividends in convenience and culinary creativity.
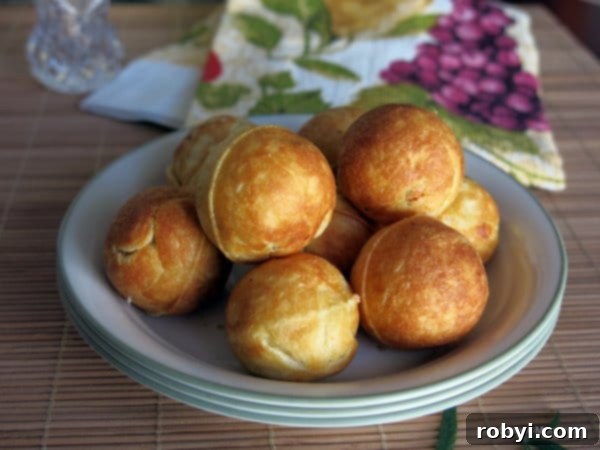
For a flavor explosion, try our Three Cheese Rosemary and Garlic Pizza Bites recipe.
For the ever-popular donut holes, we frequently use either crescent roll dough or prepared pizza dough. The versatility allows for endless flavor combinations, from classic cinnamon sugar to powdered sugar or even a decadent chocolate glaze. Decorating them is undeniably half the fun, transforming a simple baked good into a personalized treat.

As you can see, the BabyCakes Cake Pop Maker is far more than a one-trick pony. From gourmet scallops to savory meatballs and beloved pizza bites, its potential for unexpected culinary creations is truly remarkable. These experiments highlight the convenience and enjoyment that can be unlocked with a little curiosity and a willingness to try something new.
What surprising cake pop maker recipes have you discovered in your kitchen? I’m always eager to hear about new ideas and expand my repertoire of delightful mini creations. Share your experiences and let’s inspire each other to explore the endless possibilities of this fantastic gadget!

